Aquarium Equipment
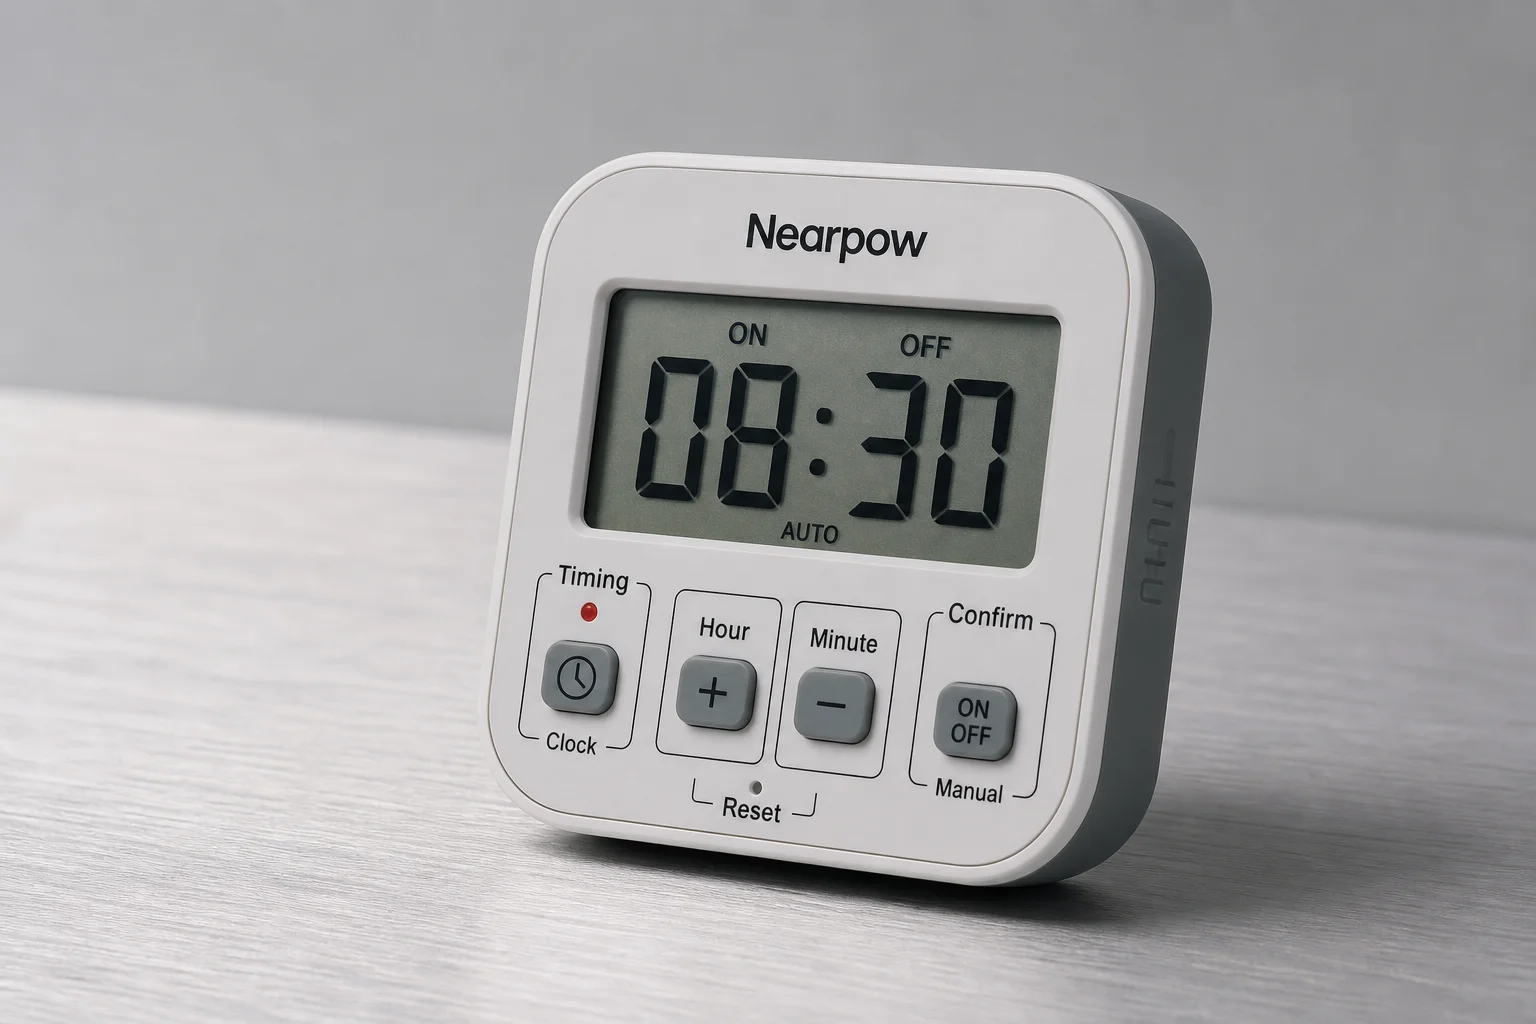
Nearpow Timer Guide: Programming a Reliable Standalone Feeder Controller
A practical walkthrough for setting up the Nearpow Timer to automate fish feeding schedules, with step-by-step instructions for clock setup, interval programming, and daily scheduling.
Introduction
The Nearpow Timer is a standalone programmable controller designed to automate feeding schedules without relying on Wi-Fi or Bluetooth connectivity. Its main appeal is the ability to handle complex timing cycles reliably, though the interface can feel unfamiliar at first. This guide walks through the essential setup steps to get your timer running a multi-feed daily schedule.
Setting the Clock
Start by resetting the timer to clear any existing programming. Use the tip of a pen or other pointed object to press the reset button.
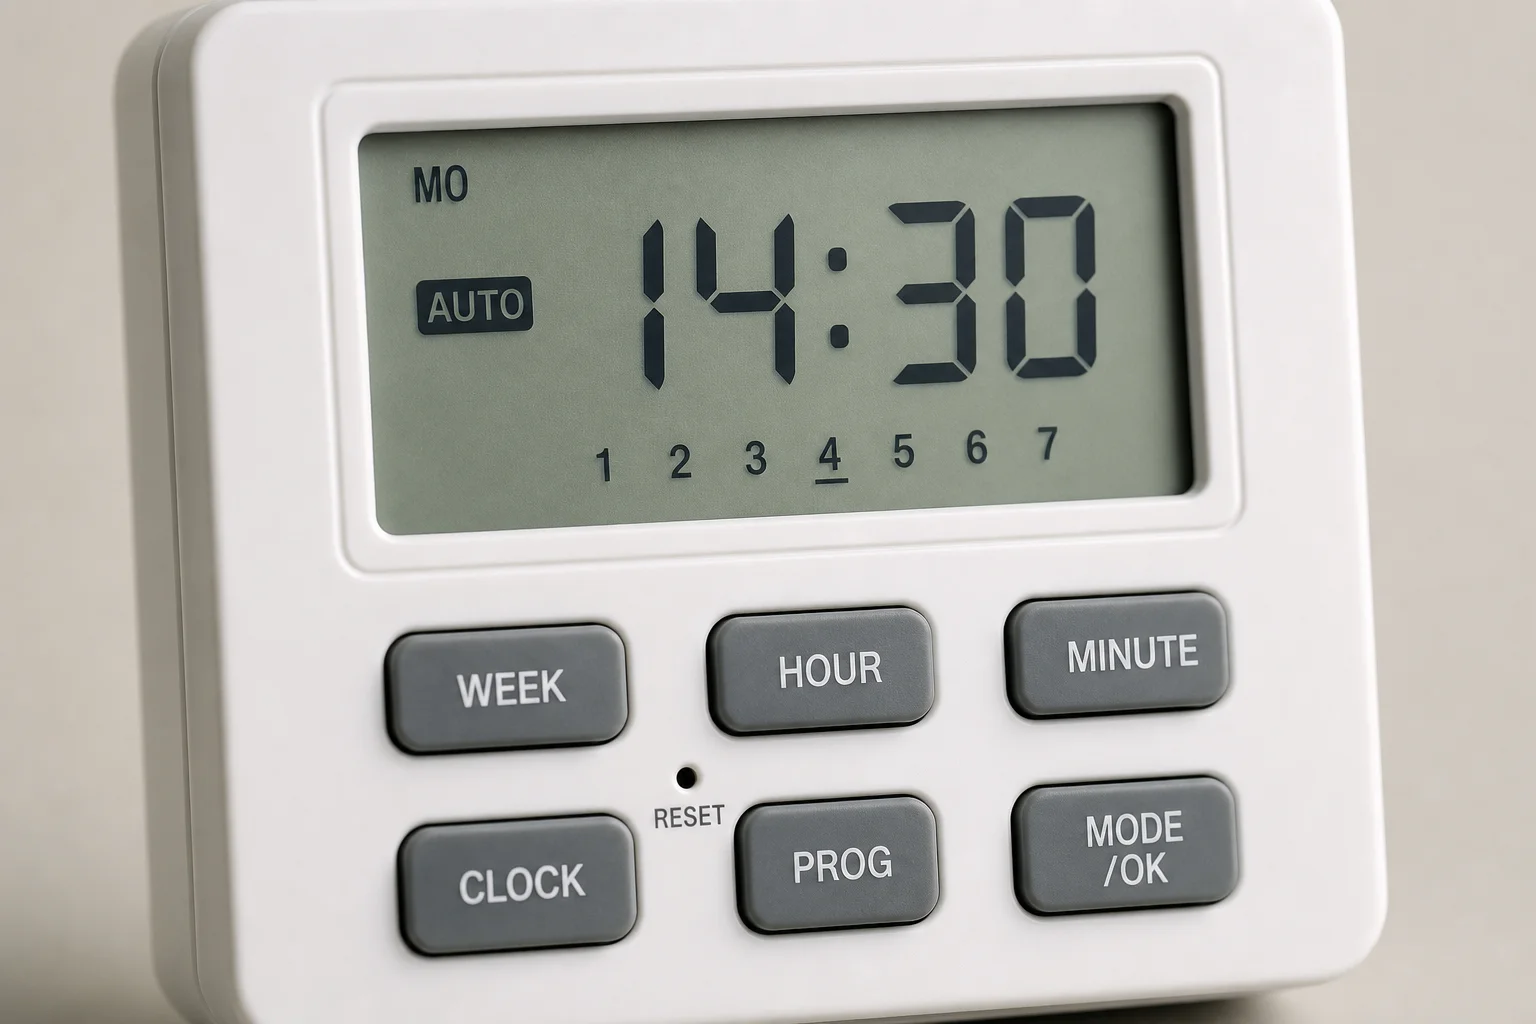
Next, set the current time. Press and hold the confirm button until the numbers on the display begin to flash. Use the hour and minute buttons to enter the time. Note that this timer operates on 24-hour military time format, so 8 PM is entered as 20:00. Once you have set the correct time, press confirm to lock it in.
Determining Your Schedule
Before programming intervals, decide how long you want the feeder to run each day and when. In a typical aquarium setup where lights are on from 10 AM to 8 PM (10 hours), you might want a total daily runtime of 3 minutes (180 seconds) spread across those hours. Dividing 180 seconds by 10 hours gives 18 seconds of runtime per hour, which means the timer will be off for 59 minutes and 42 seconds each hour.
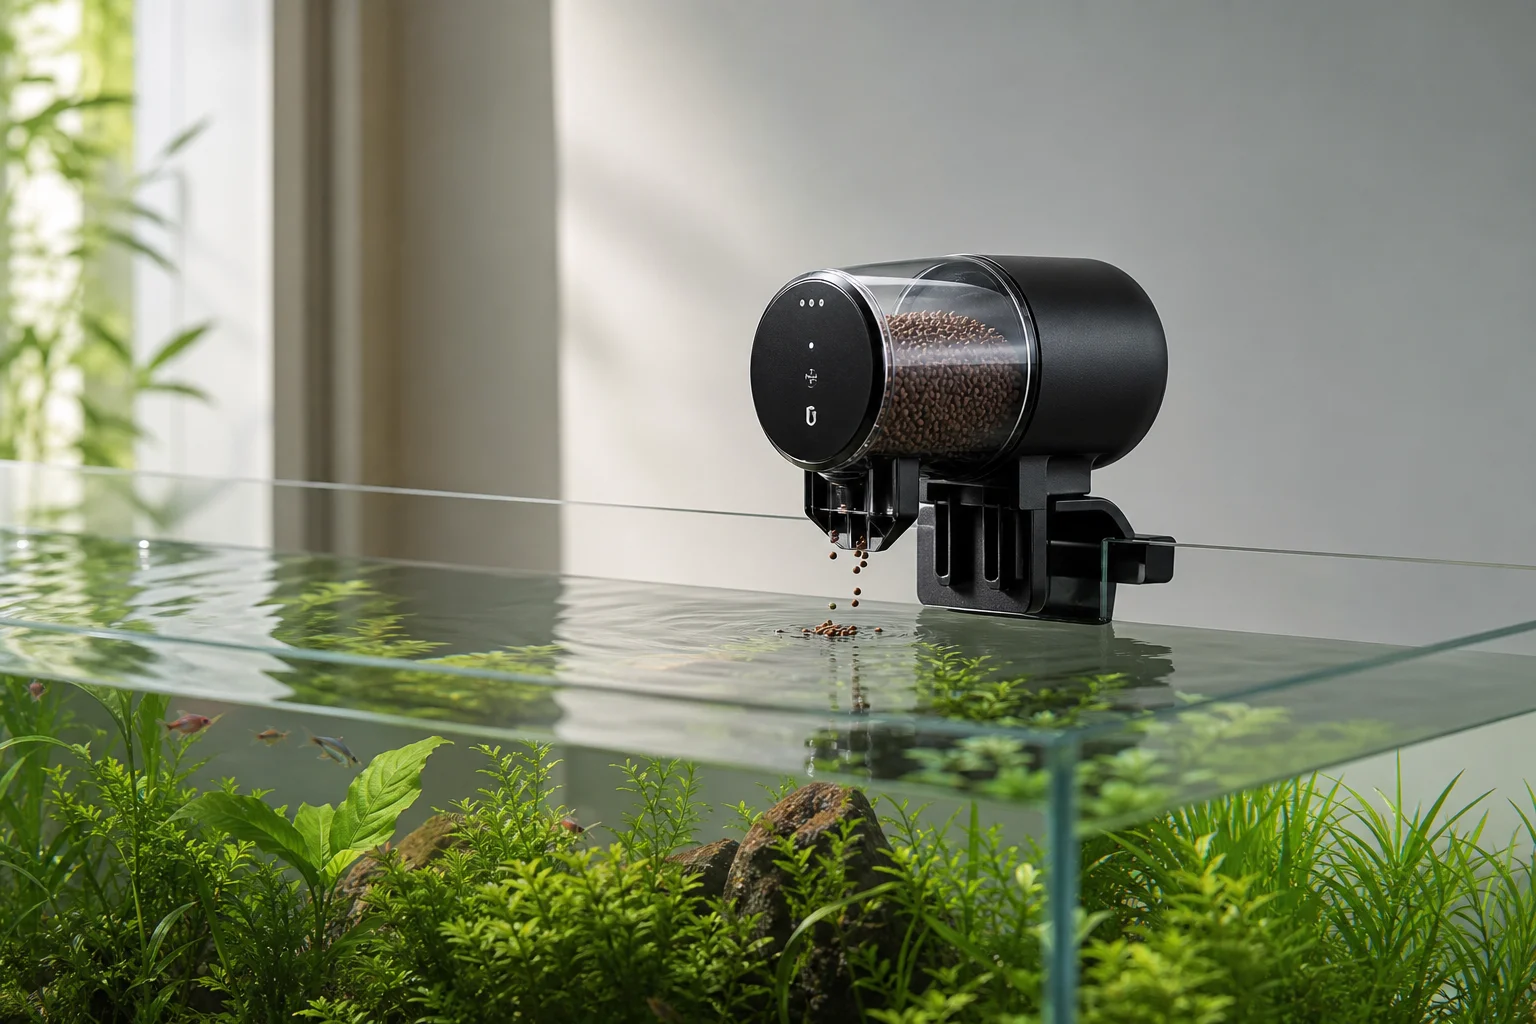
This calculation ensures consistent feeding throughout the lit period without overfeeding. Adjust the total runtime and daily window based on your specific tank needs.
Programming the Intervals
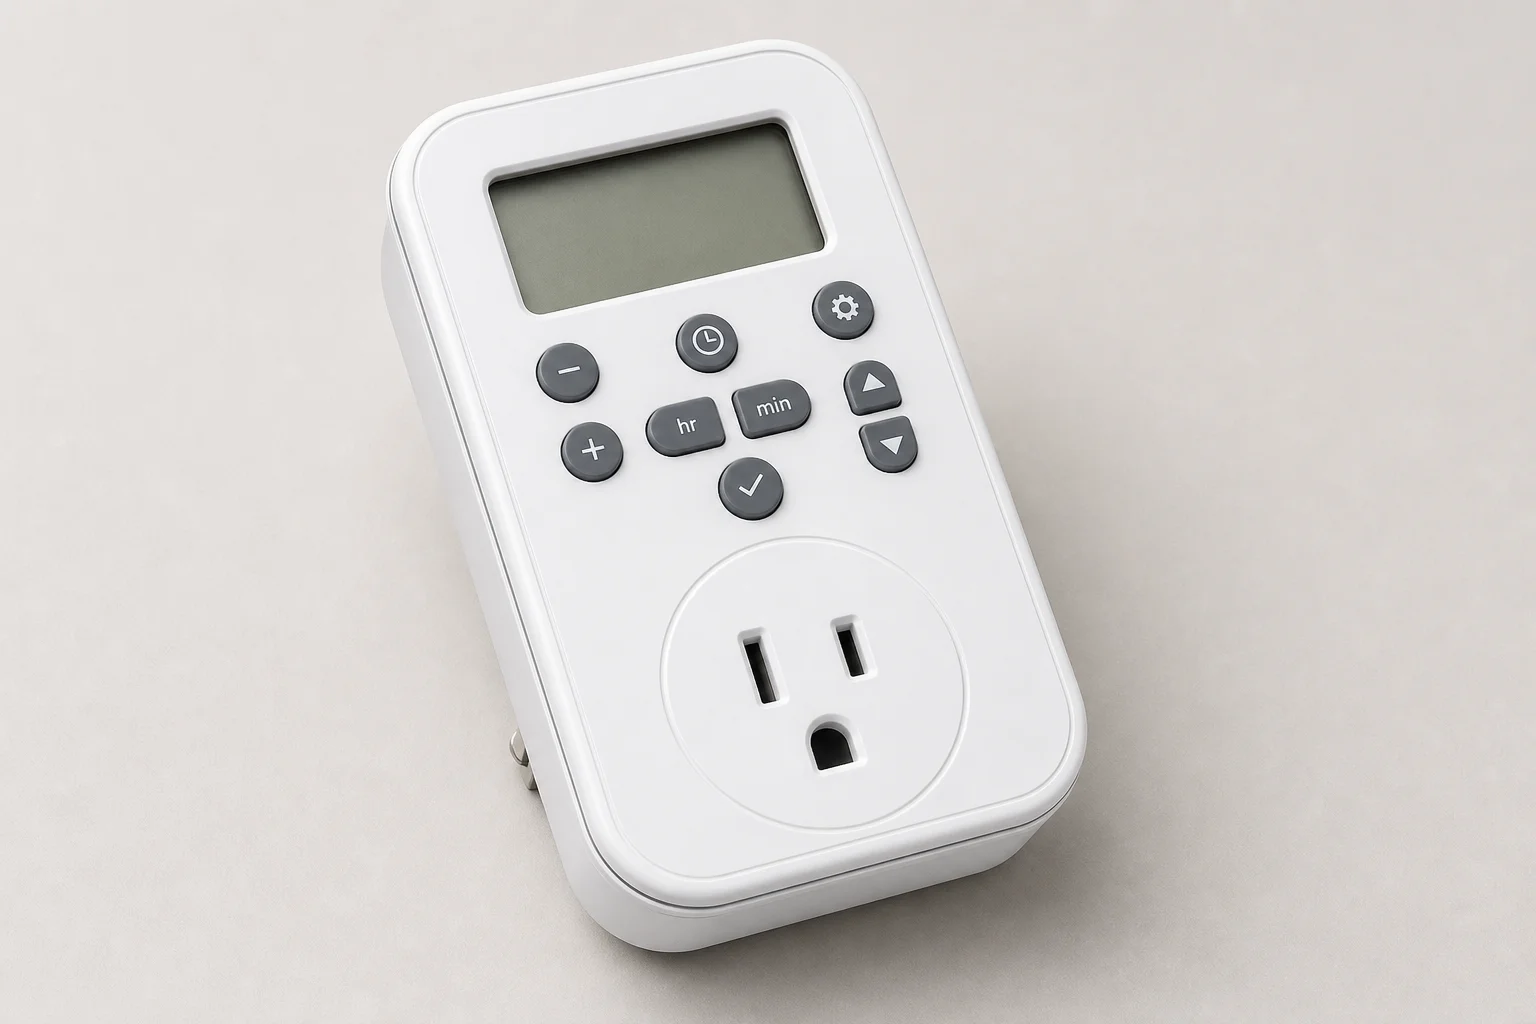
Press the timing circulate button and hold it until the screen changes. The display now shows time in minutes and seconds format. The hour button controls minutes, and the minute button controls seconds.
Enter your on-time first: press the minute button and enter 18 seconds. Then press the timing circulate button again. Now press the hour button to enter 59 minutes, and the minute button to set 42 seconds. The display should show “on 18 seconds, off 59 minutes 42 seconds.” Press confirm to save these intervals.
Programming the Daily Time Window
Now set when these intervals should run each day. Press the switch button, then the timed button. Use the hour button to set the start time (10 AM in 24-hour format). Press the timed button again and use the hour button to set the end time (20:00 for 8 PM). Remember to use 24-hour military time throughout. Press confirm to save the daily schedule.
Running the Program
To activate your new program, hold the timing circulate button until the bell icon flashes on the display. This confirms the program is set and running.
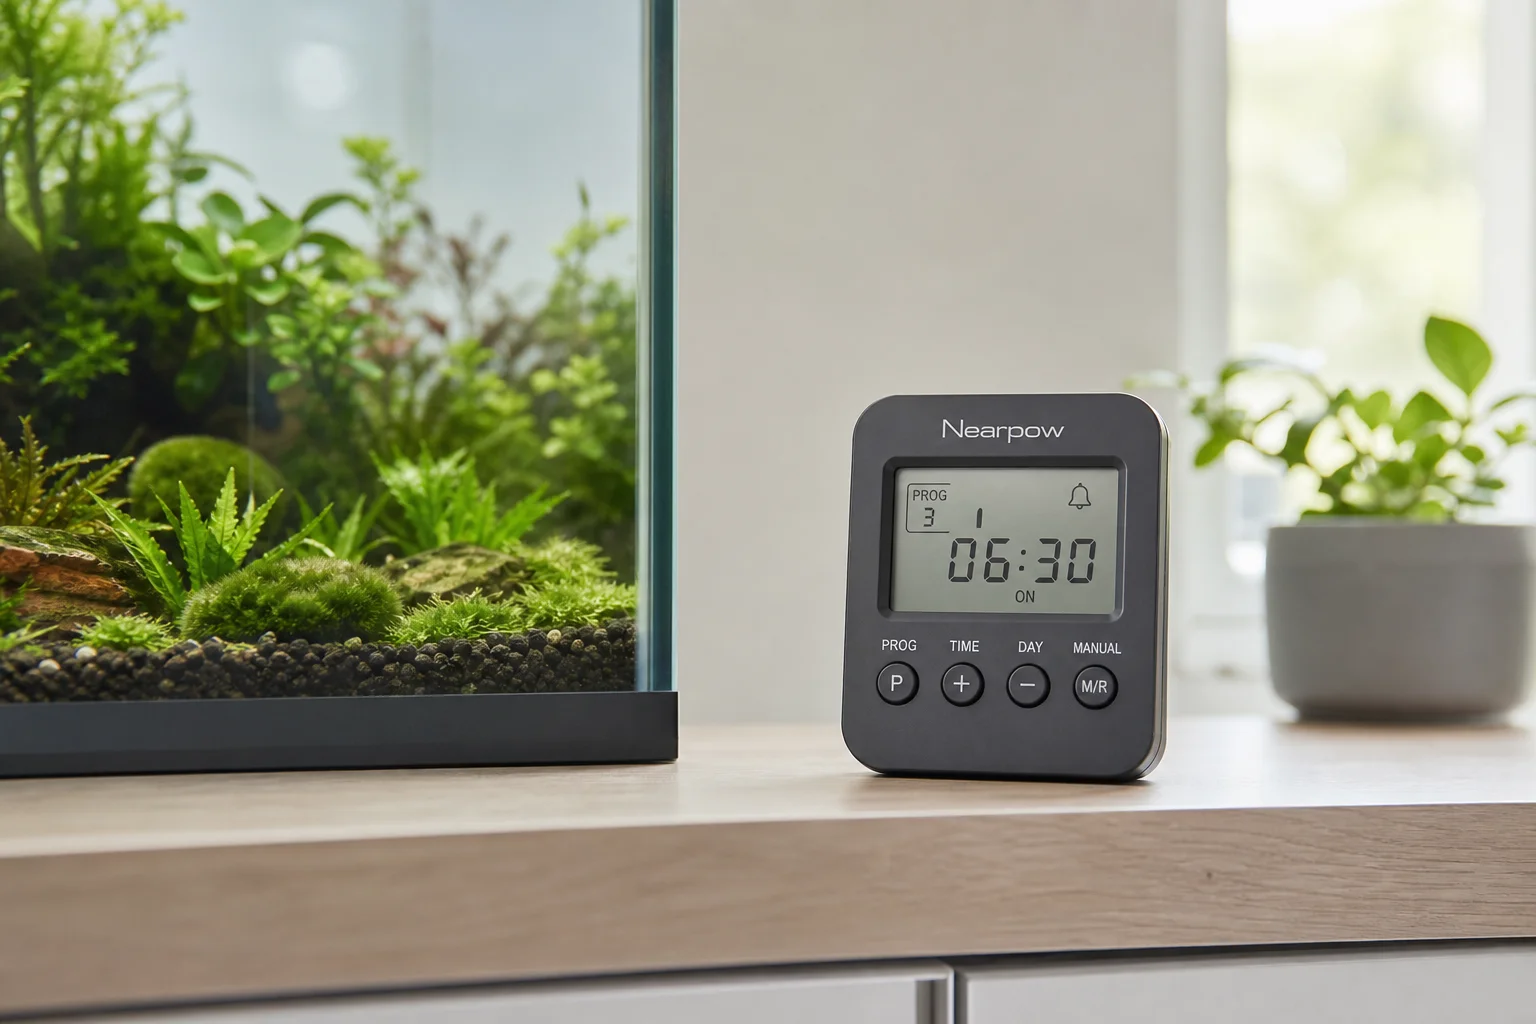
The timer has a built-in battery that preserves all programming even during power outages. Because it does not depend on Wi-Fi or Bluetooth, wireless network interruptions have no effect on operation. For the price, the Nearpow Timer has proven reliable for automating feeding schedules without the complexity of smart home integration.
Conclusion
Programming the Nearpow Timer becomes straightforward once you understand the button sequence and remember the 24-hour time format. The key steps are setting the clock, calculating your daily runtime and off-time, programming those intervals, defining your daily window, and activating the program. With these steps complete, your feeder will run automatically on schedule.
Product link
View more details for Nearpow Timer
This product is mentioned in the review. Check the specifications, options, and compatibility before buying.
View more details for Nearpow TimerFurther reading
Related Reviews
Aquarium Equipment
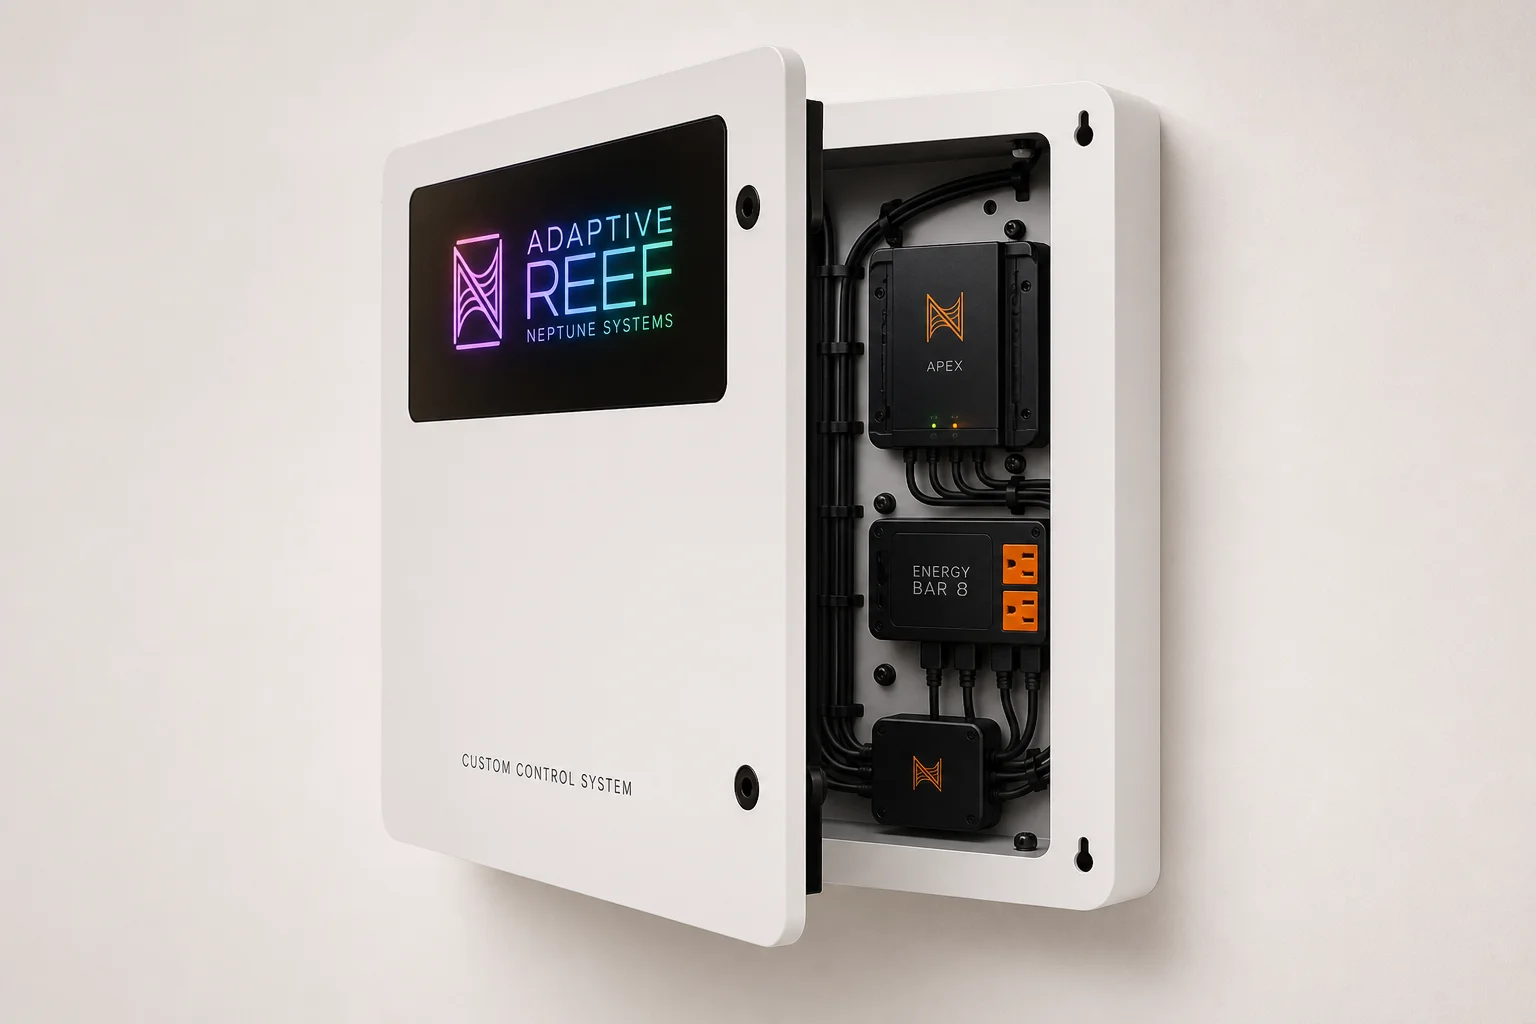
Adaptive Reef Neptune Systems Custom Control Board Review: Purpose-Built Organization for Apex Systems
A pre-configured controller board designed specifically for Neptune Systems Apex setups, offering integrated cable management, tablet mounting, and RGB lighting in a ready-to-use package.
Aquarium Equipment
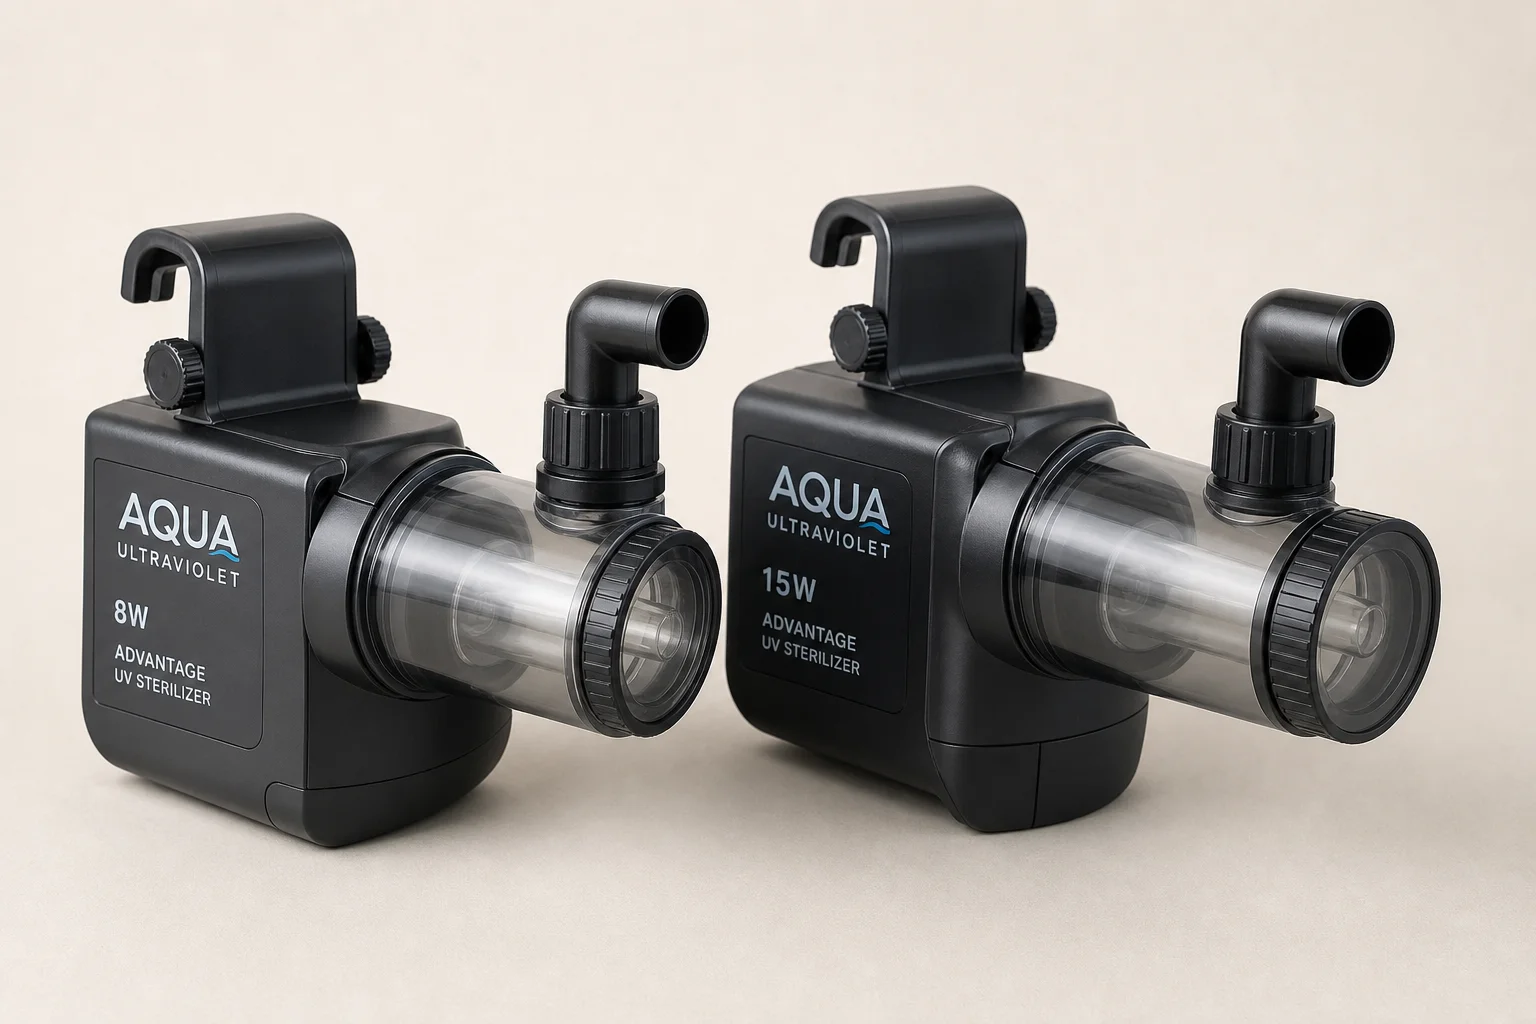
Aqua Ultraviolet Advantage Hang-On UV Sterilizer: 8-Watt vs 15-Watt Guide
Two compact UV sterilizers designed for aquarium owners seeking parasite and algae control without complex plumbing or large footprints.
Aquarium Equipment
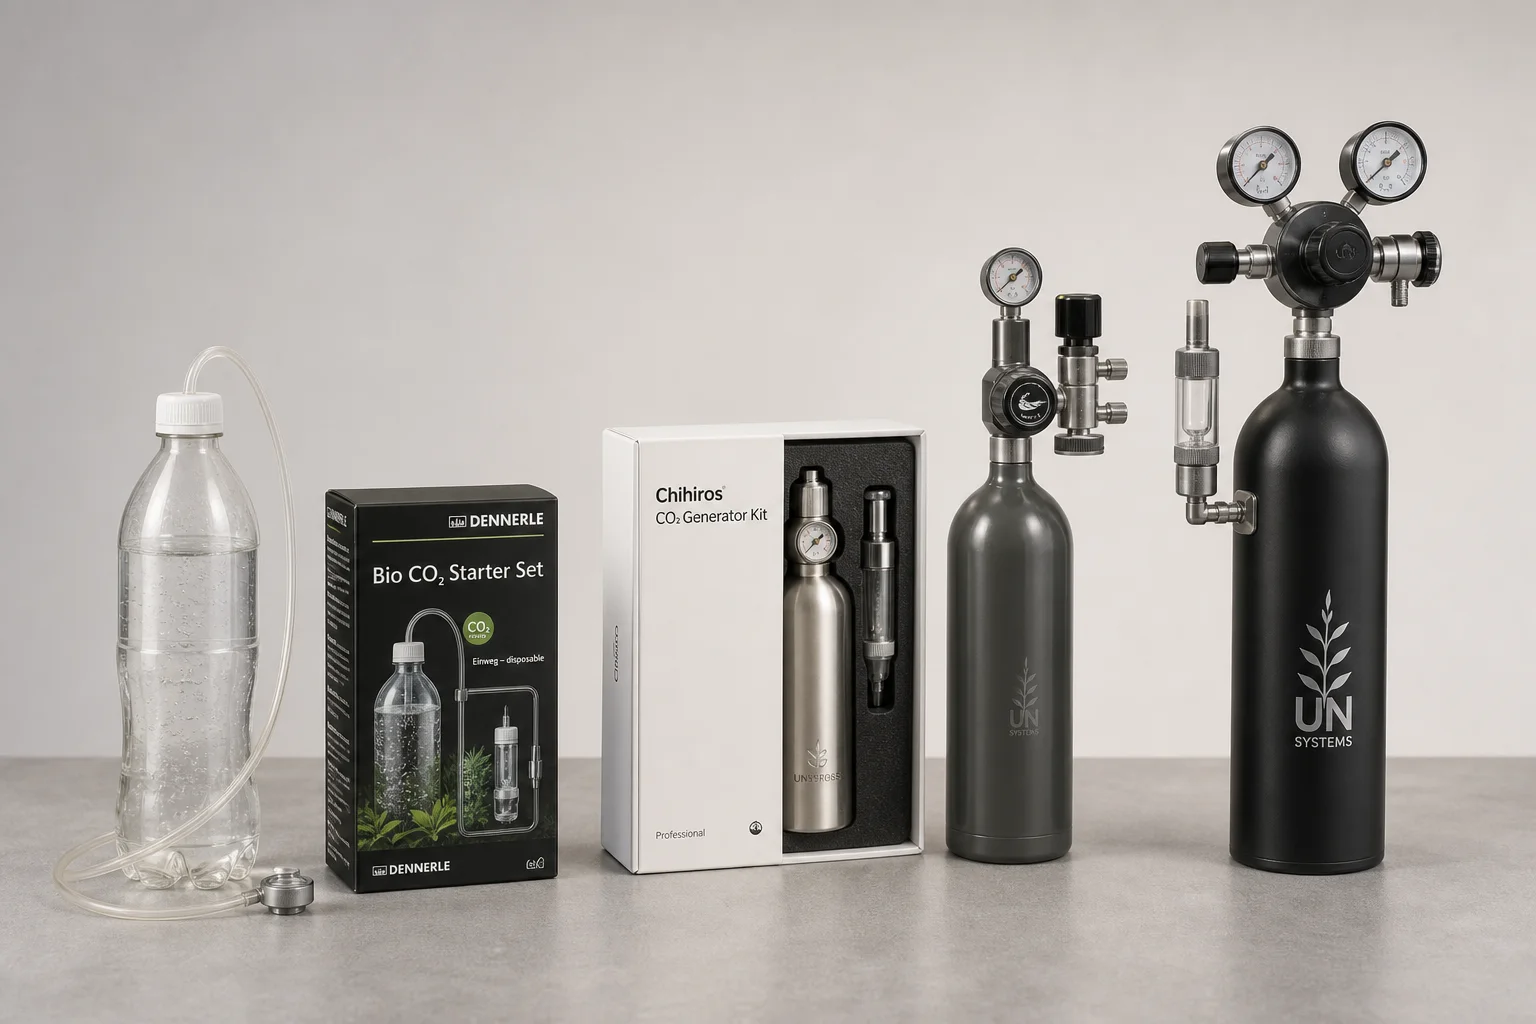
Best Aquarium CO2 Systems: Five Options From Budget DIY to Multi-Tank Setups
A practical guide to five aquarium CO2 systems, from homemade fermentation kits to pressurized cylinders with multi-tank regulators. Find the right setup for your tank size and budget.