Aquarium Equipment
Top 10 Aquarium Heater Tips: Essential Guidance for Reef Tank Success
Ten practical tips for using aquarium heaters safely and effectively in reef tanks, covering placement, redundancy, monitoring, and calibration.
Introduction
Aquarium heaters are among the most critical yet underestimated pieces of equipment in a reef tank setup. These devices cycle on and off hundreds of thousands of times per year, controlling one of the most important parameters for coral and fish health. Yet many aquarists discover too late that heaters fail frequently, run dry, overheat tanks, or measure temperature inaccurately. The difference between a successful reef tank and a catastrophic loss often comes down to how well you understand and manage your heating system. Here are ten essential tips that can transform your approach to heater selection, placement, and maintenance.
Tip 1: Room Temperature is Your Starting Point
The most fundamental principle is understanding that your heater is not the primary heat source for your tank. The room itself is. Whether your room sits at 60, 70, or 80 degrees, your tank will naturally trend toward that baseline temperature. Your heater then fine-tunes from there.
This means you should evaluate your room’s ambient temperature, heating system, air conditioning, and window placement before selecting a heater. If your room runs at 65 degrees and you want your tank at 78, you need a heater sized to handle that 13-degree difference. If your room is already 75 degrees, you may need only a small heater for minor adjustments. In summer, when opening windows raises room temperature to 85 degrees, your tank will follow regardless of heater capacity. Sometimes it is more cost-effective to adjust room temperature slightly than to run an oversized heater continuously.
Tip 2: Never Allow Your Heater to Run Dry
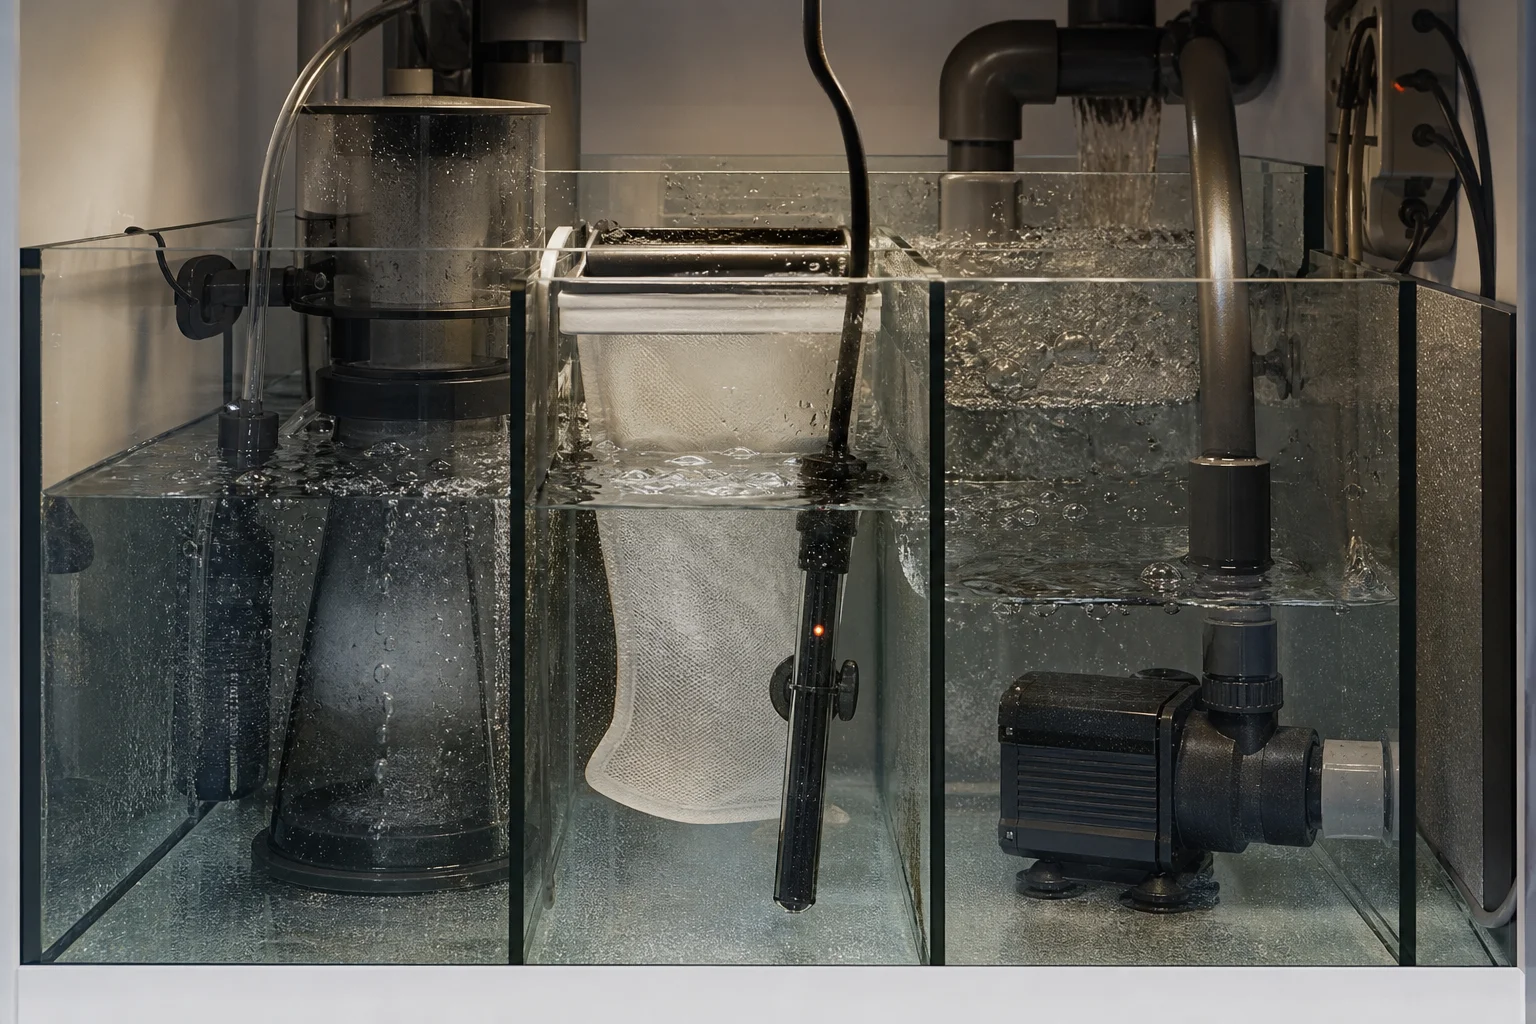
This is the most critical safety rule. A heater exposed to air will overheat rapidly, potentially melting through your sump or creating a fire hazard. Always place your heater in a location where it will remain fully submerged under all circumstances.
Avoid positioning heaters in return pump areas, corner overflows, or any chamber that could drain during maintenance or if your auto top-off system fails. Even if you think you have enough space, consider what happens when you perform sump maintenance and intentionally lower water levels. Your heater should remain submerged even in those scenarios. If you currently have a heater positioned where it could run dry, relocate it today. This is not a task to postpone.
Tip 3: Run Redundant Heaters for Reliability
Heaters fail frequently, and waiting to discover a failure is a poor strategy. Most experienced aquarists run two heaters instead of one, providing both primary heating and backup protection.
However, sizing matters critically. If your tank requires a 200-watt heater, do not install two 200-watt heaters. If one gets stuck in the on position, it will overheat your tank dangerously fast. Similarly, two 100-watt heaters (totaling 200 watts) will heat too slowly and may take days to reveal a failure. The solution is to split the difference: use two heaters at approximately 75 percent of the required wattage each. If 200 watts is your target, install two 150-watt heaters. This approach provides redundancy while preventing both rapid overheating and slow temperature drift.
Tip 4: Replace Heater Thermostats Annually
The thermostat is the most failure-prone component of any heater. It cycles on and off hundreds of thousands of times per year, toggling moving parts that eventually wear out and stick. Rather than waiting for failure, replace your heater or thermostat every year as preventive maintenance.
At 30 to 50 dollars per year, this is inexpensive insurance for an entire tank investment. Consider the cost: if your heater fails undetected and gets stuck in the on position, you could lose all your corals and fish. If it fails in the off position and you do not notice immediately, temperature will drop and stress your livestock. A simple annual replacement eliminates this risk entirely. For heaters with integrated thermostats, you replace the entire unit. For modular systems like those with separate thermostats, you replace only the thermostat component.
Tip 5: Understand Where Your Thermostat Measures Temperature
Different heaters measure temperature from different locations, and this affects accuracy and performance. Some heaters have the thermostat built into the top cap, meaning the sensor sits at the heater’s highest point. Others have a separate probe that can be positioned anywhere in the tank.
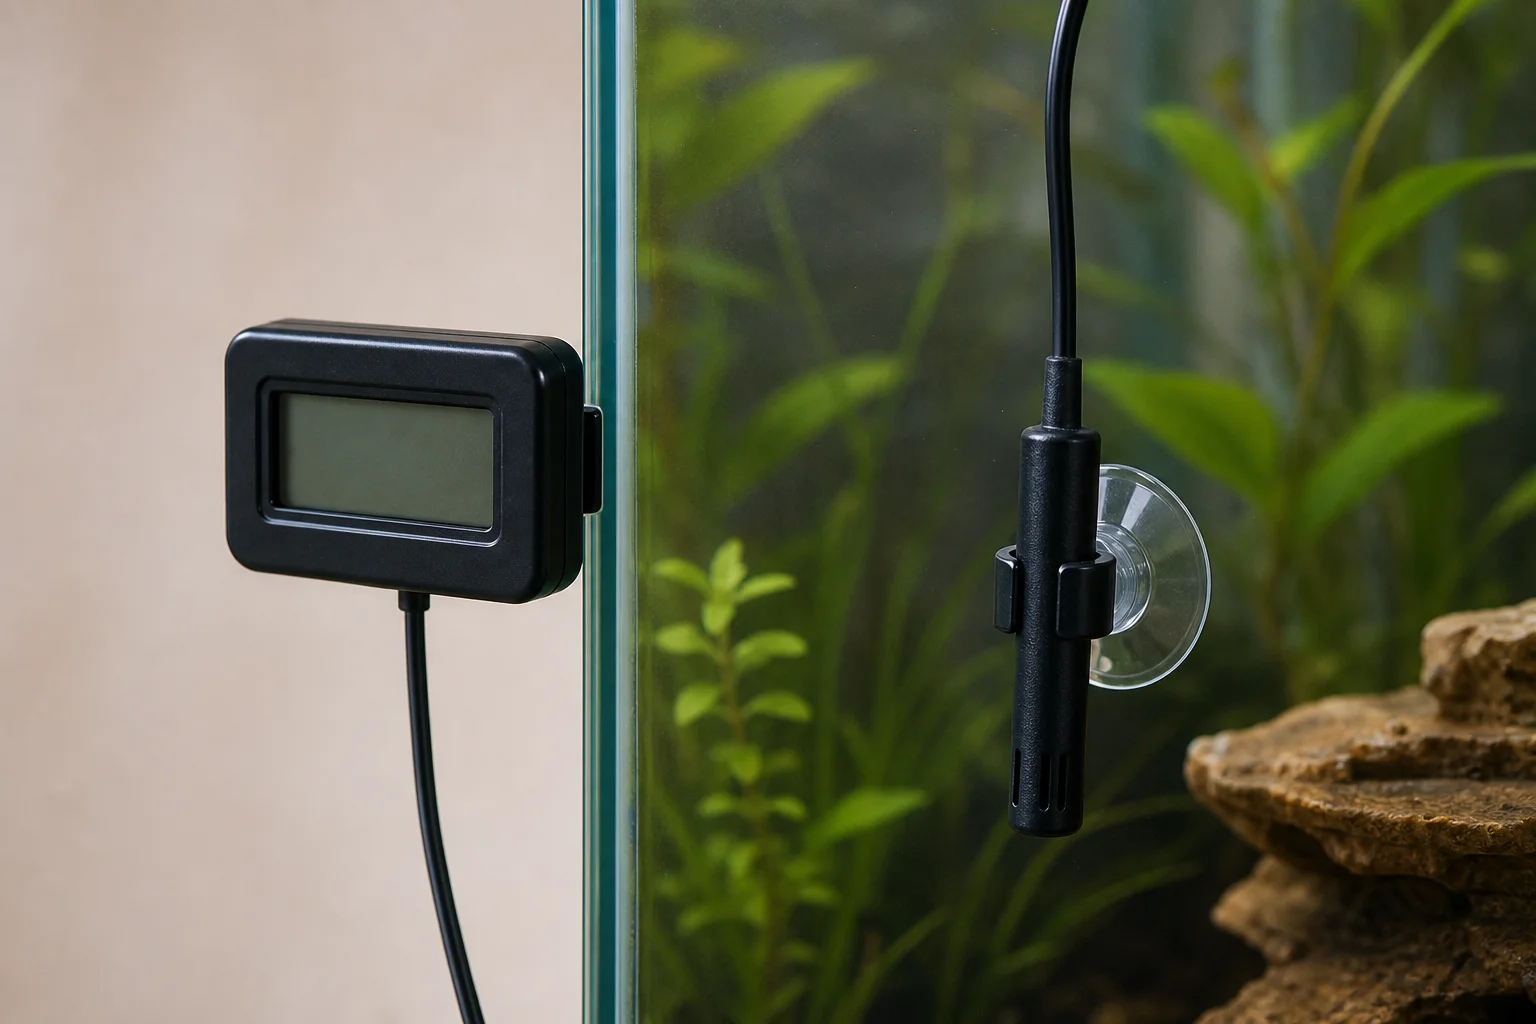
If your thermostat is in the heater’s cap, ensure that cap remains fully submerged at all times. If it is exposed to air, it will read room temperature instead of tank temperature, causing the heater to cycle excessively or fail to maintain your target temperature. Heaters with integrated thermostats also tend to cycle more frequently because the heating element itself warms the thermostat, creating extra on-off cycles. Heaters with separate probes offer more flexibility and typically more stable temperature control, as the probe can be positioned away from the heating element and placed in a representative location within the tank.
Tip 6: Secure Separate Temperature Probes Carefully
If your heater uses a separate temperature probe, placement and security are critical. Some probes have long cords offering flexibility; others have short cords limiting placement options. Avoid positioning the probe directly downstream of the heater, where it will read freshly heated water and cause the heater to shut off prematurely, leaving the rest of your tank cooler than desired.
Place the probe upstream of the heater or in a remote location that represents your tank’s overall temperature. More importantly, secure the probe so it cannot be accidentally bumped, pulled out, or dislodged. If the probe ends up exposed to air or outside the tank, it will read room temperature and cause the heater to run continuously, overheating your tank. Use suction cups, magnets, or other secure mounting methods to ensure the probe remains submerged under all circumstances, even during maintenance activities.
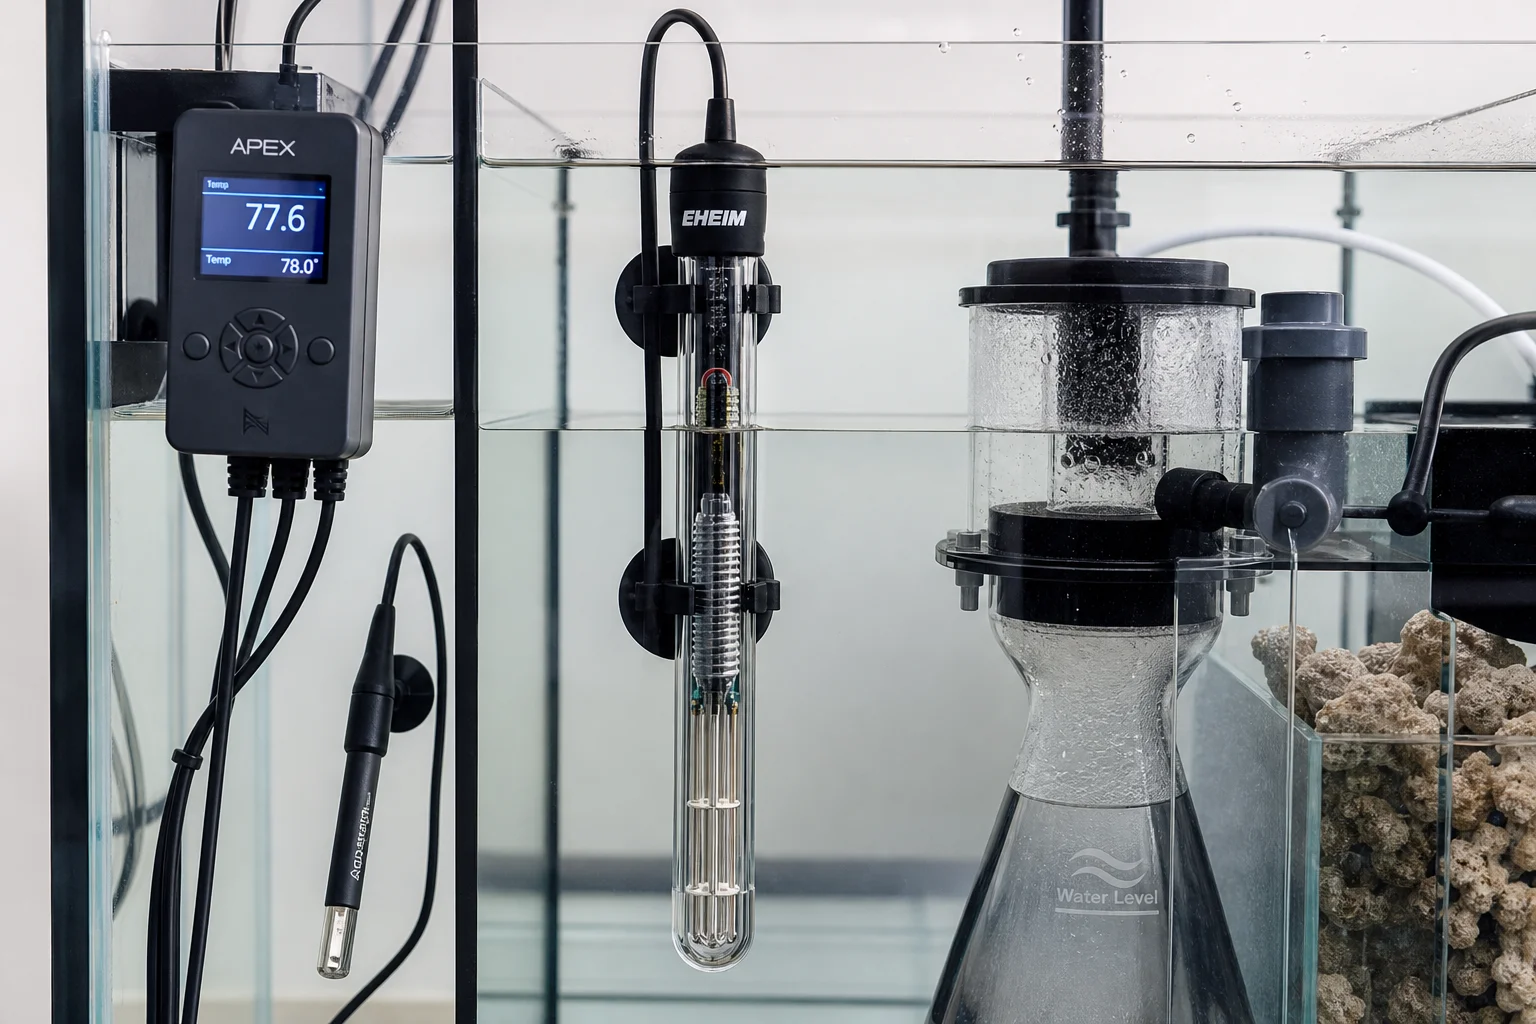
Tip 7: Set Your Heater to 78 Degrees
There is ongoing debate about the ideal temperature for reef tanks, with some aquarists arguing for species-specific temperatures based on collection depth or geographic origin. In practice, the answer is simple: set your heater to 78 degrees Fahrenheit. The vast majority of successful reef aquarists maintain this temperature, and consistent results across the hobby demonstrate its effectiveness.
You will achieve the same results at 78 degrees as you would spend weeks researching and debating optimal temperatures for individual corals. This temperature supports coral growth, fish health, and overall tank stability. Unless you have a specific reason to deviate, 78 degrees is the standard for good reason.
Tip 8: Monitor Temperature Actively
You cannot manage what you do not measure. Walking past your tank and visually assessing it will not reveal temperature problems until corals and fish show visible stress, at which point damage is already occurring. Implement at least one of three monitoring methods.
The simplest approach is a basic adhesive thermometer strip that costs five dollars and allows you to glance at your tank’s temperature without touching the water. This is better than nothing but less reliable than active monitoring. A better option is a separate digital thermometer that you use to spot-check temperature daily or weekly. The best approach is an aquarium controller or separate temperature sensor with audible or visual alarms. These devices alert you immediately if temperature deviates from your target, allowing you to respond before livestock is affected. Advanced controllers like the Apex Fusion can send text messages and emails, and can even shut off the heater automatically if temperature rises dangerously. For a tank representing significant time and financial investment, this level of monitoring is worthwhile.
Tip 9: Account for Heater Physical Size
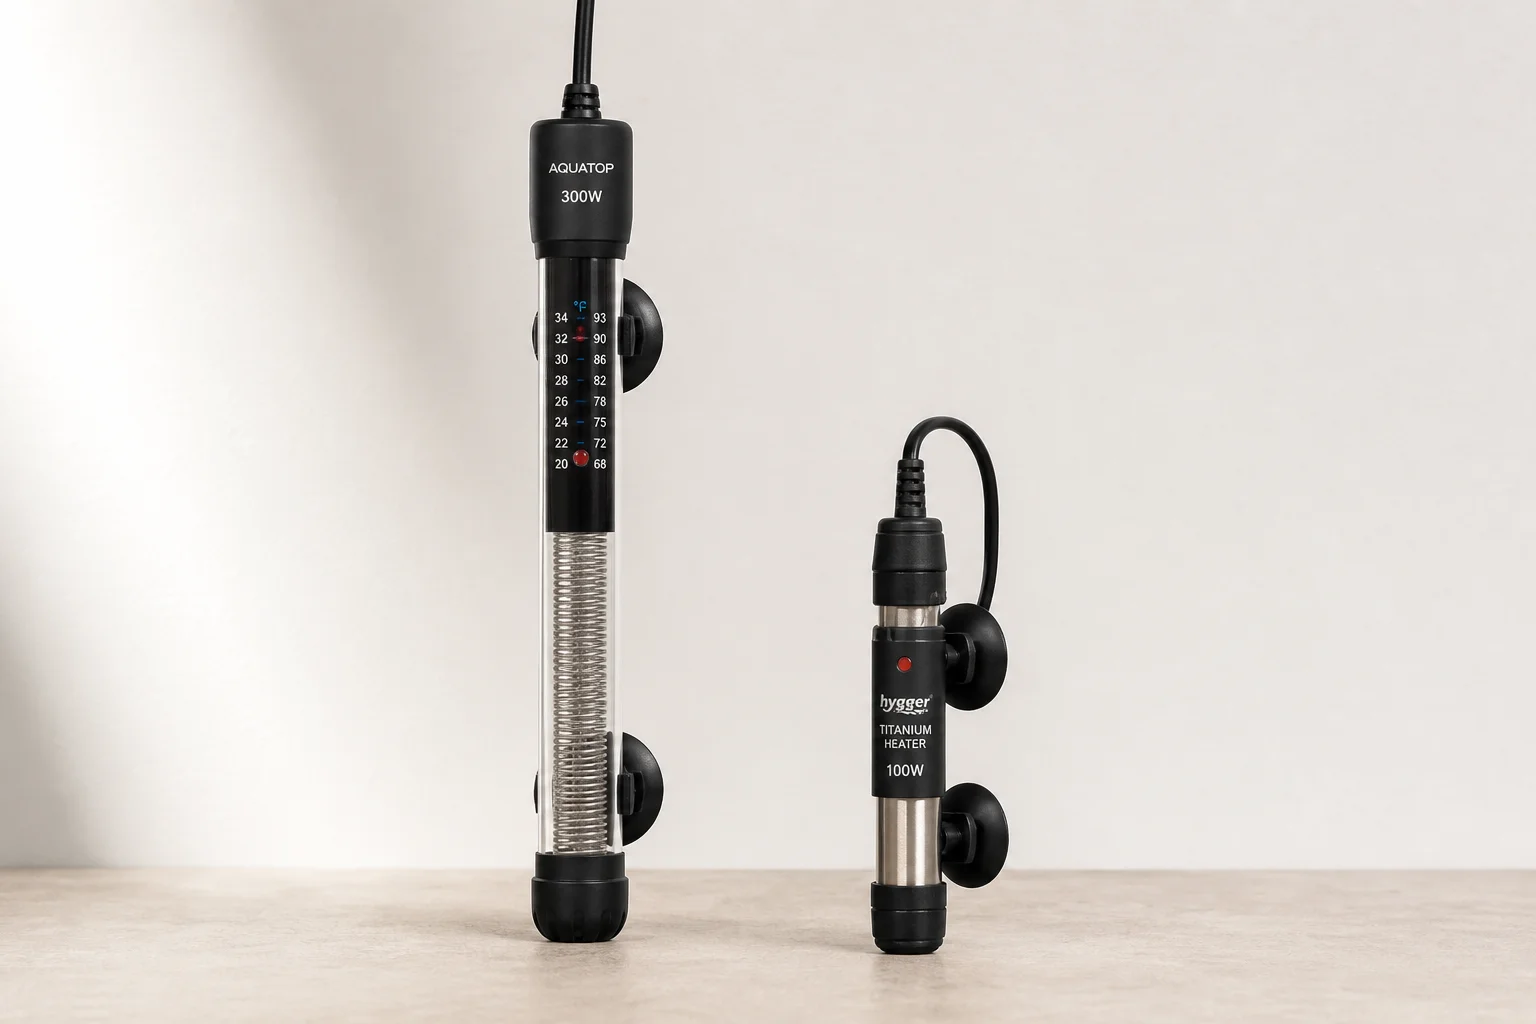
Heater wattage does not directly correlate to physical size. A 300-watt Eheim Jager is significantly longer than a 300-watt titanium heater from other manufacturers. Before purchasing, check the product specifications for heater length and verify it will fit in your sump.
Many aquarists have purchased a heater only to discover it does not fit in any chamber of their sump. Faced with a wet, used heater that is difficult to return, some attempt to install it diagonally or partially exposed. This violates the core safety rule of keeping heaters fully submerged. Measure your available sump space and cross-reference it with the heater’s dimensions before purchase. The Eheim Jager 300-watt model is particularly notorious for being longer than expected and not fitting in most standard sumps. Choosing the right size heater for your space the first time prevents frustration and safety compromises.
Tip 10: Calibrate Your Heater for Accuracy
Most heaters come out of the box with inaccurate temperature readings. You may set your heater to 78 degrees expecting your tank to reach 78 degrees, only to discover it is actually 72 or 84 degrees. Calibration errors of two to six degrees are common across all heater types.
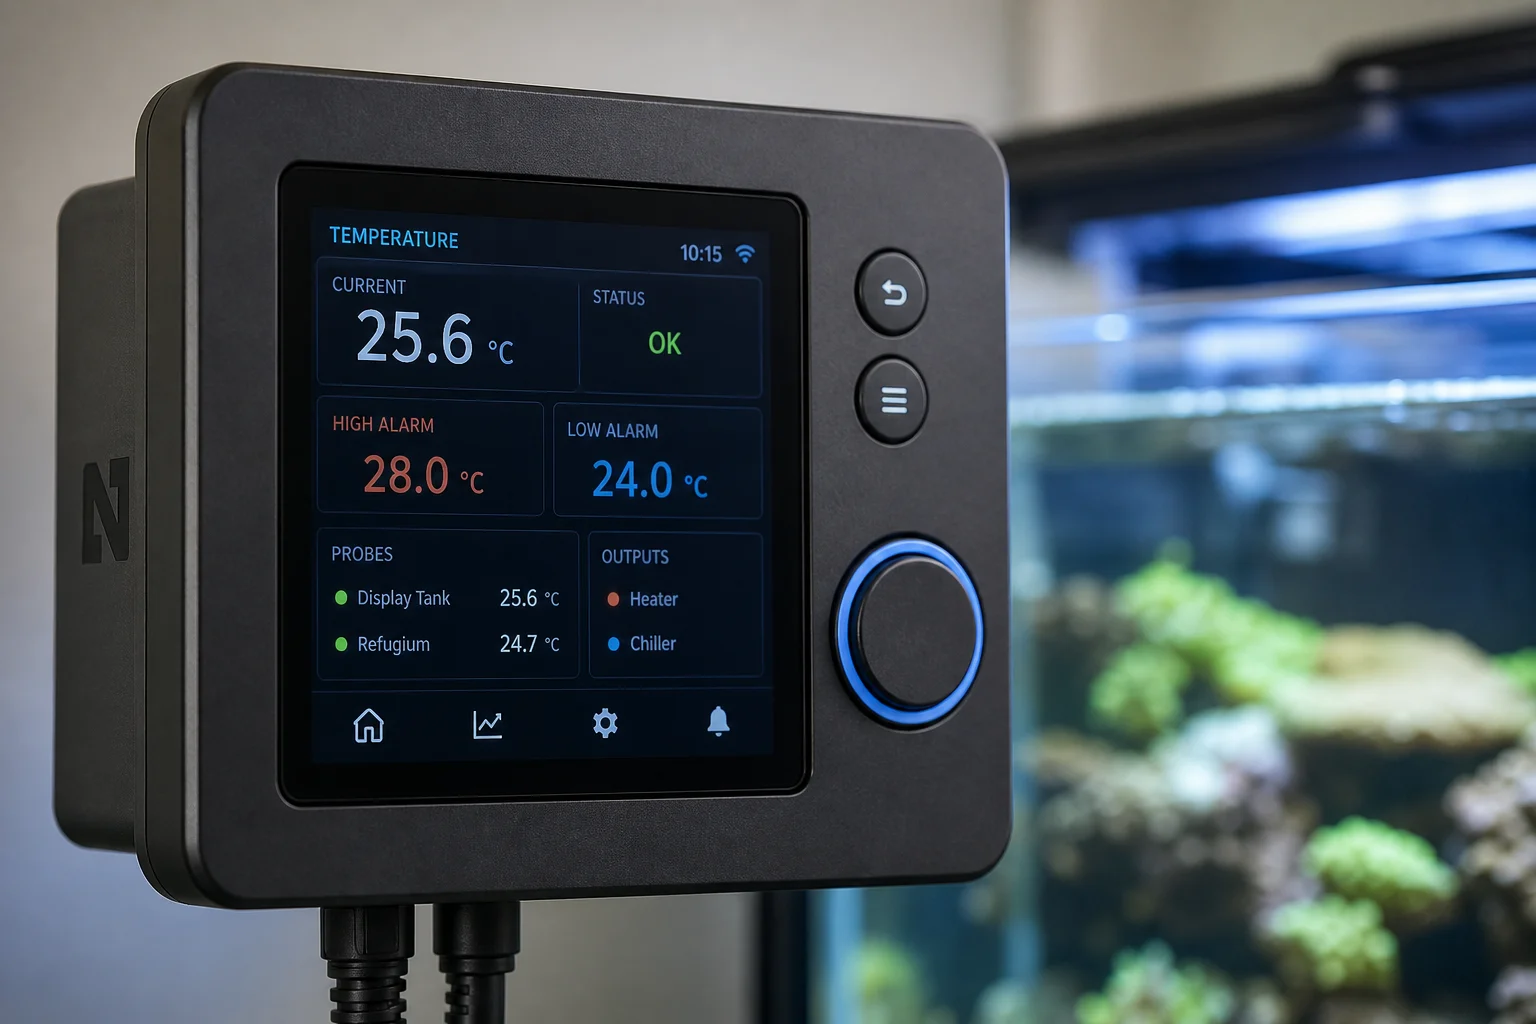
Some heaters include calibration adjustment features that allow you to correct for this error. Others do not, requiring you to manually account for the offset. Use a quality thermometer to measure your actual tank temperature and compare it to your heater’s setting. If your heater reads 78 but your tank is actually 75, adjust the heater to 81 to compensate. Better yet, use two thermometers and average the readings for greater accuracy. Invest in a quality thermometer with NIST validation if you want the most reliable reference point. Taking time to calibrate your heater ensures your tank actually reaches your target temperature rather than operating at an unknown offset.
Conclusion
The single most important principle underlying all these tips is accepting that heaters fail frequently and planning accordingly. Rather than hoping your heater will work reliably until it fails, implement redundancy, perform annual maintenance, monitor actively, and verify calibration. The aquarists with the longest success trajectories are those who treat heater maintenance as routine rather than waiting for catastrophic failure. Your heater is inexpensive equipment controlling an expensive, time-intensive system. Investing modest effort in proper heater management pays dividends in tank stability and livestock health.
Product link
View more details for Eheim Jager
This product is mentioned in the review. Check the specifications, options, and compatibility before buying.
View more details for Eheim JagerFurther reading
Related Reviews
Aquarium Equipment
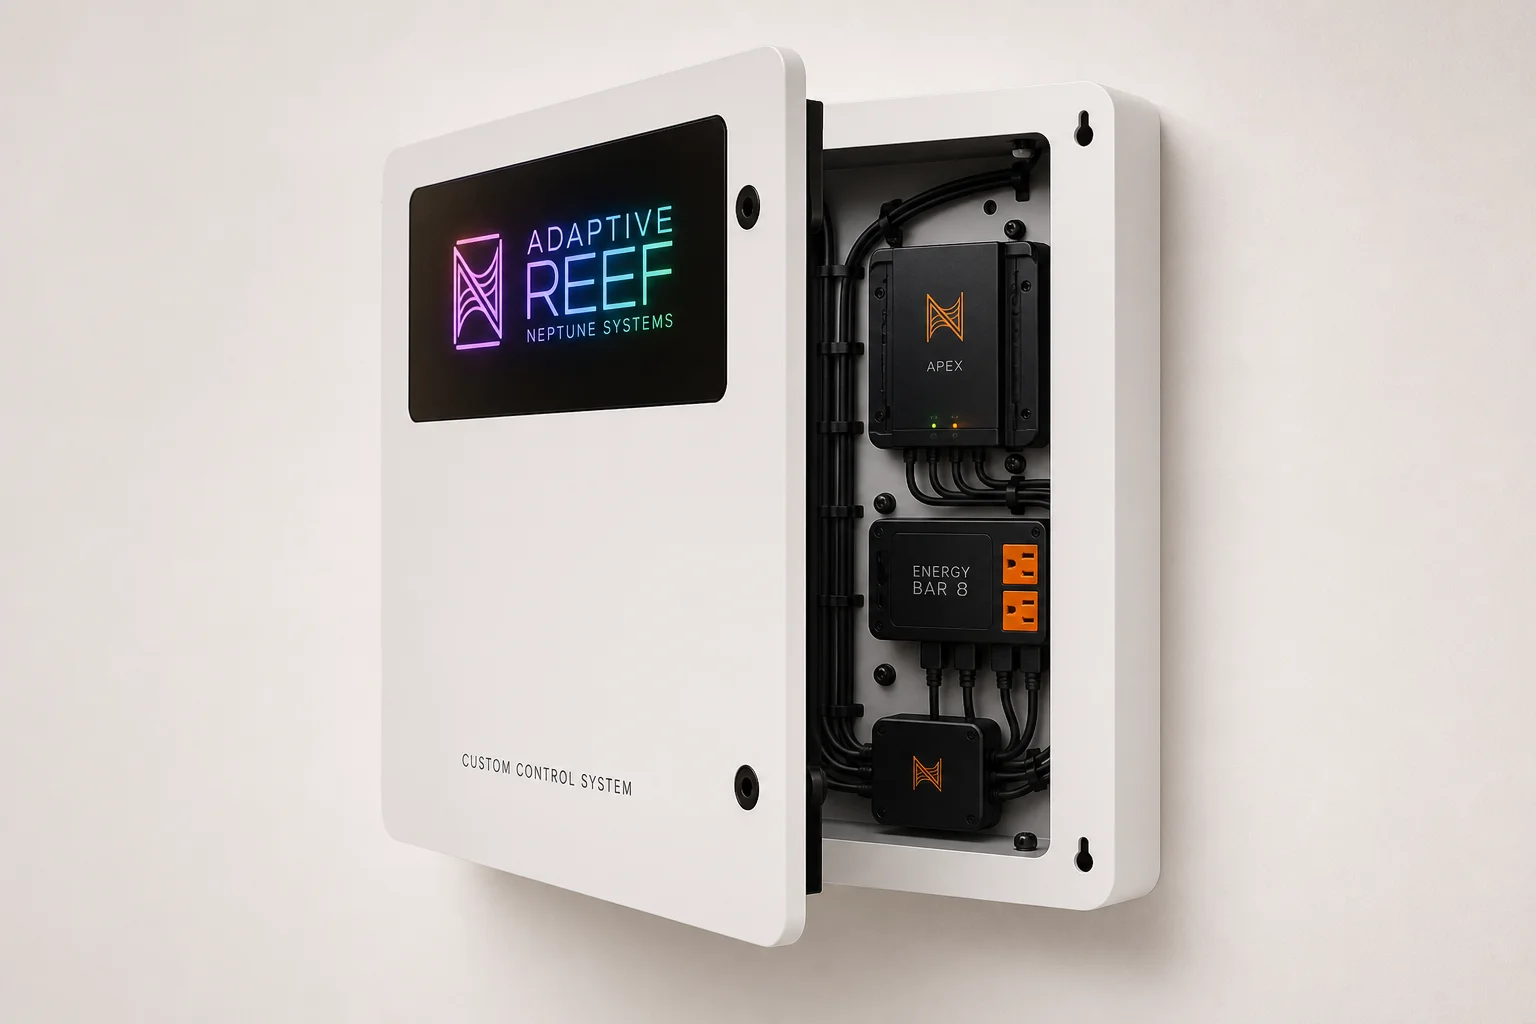
Adaptive Reef Neptune Systems Custom Control Board Review: Purpose-Built Organization for Apex Systems
A pre-configured controller board designed specifically for Neptune Systems Apex setups, offering integrated cable management, tablet mounting, and RGB lighting in a ready-to-use package.
Aquarium Equipment
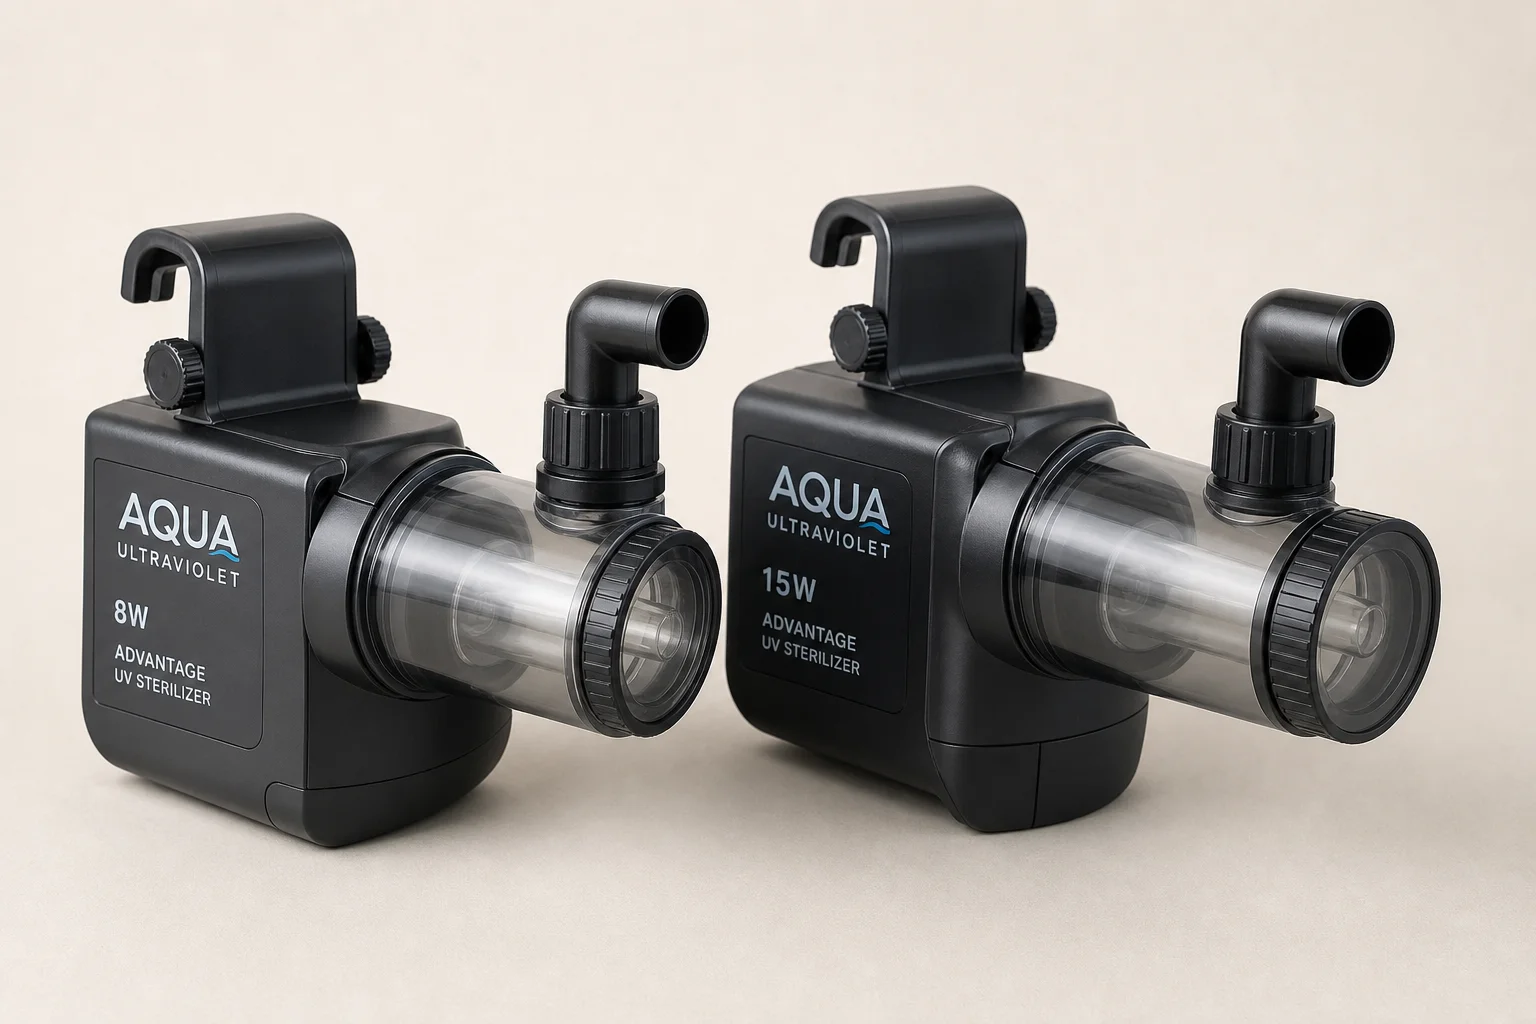
Aqua Ultraviolet Advantage Hang-On UV Sterilizer: 8-Watt vs 15-Watt Guide
Two compact UV sterilizers designed for aquarium owners seeking parasite and algae control without complex plumbing or large footprints.
Aquarium Equipment
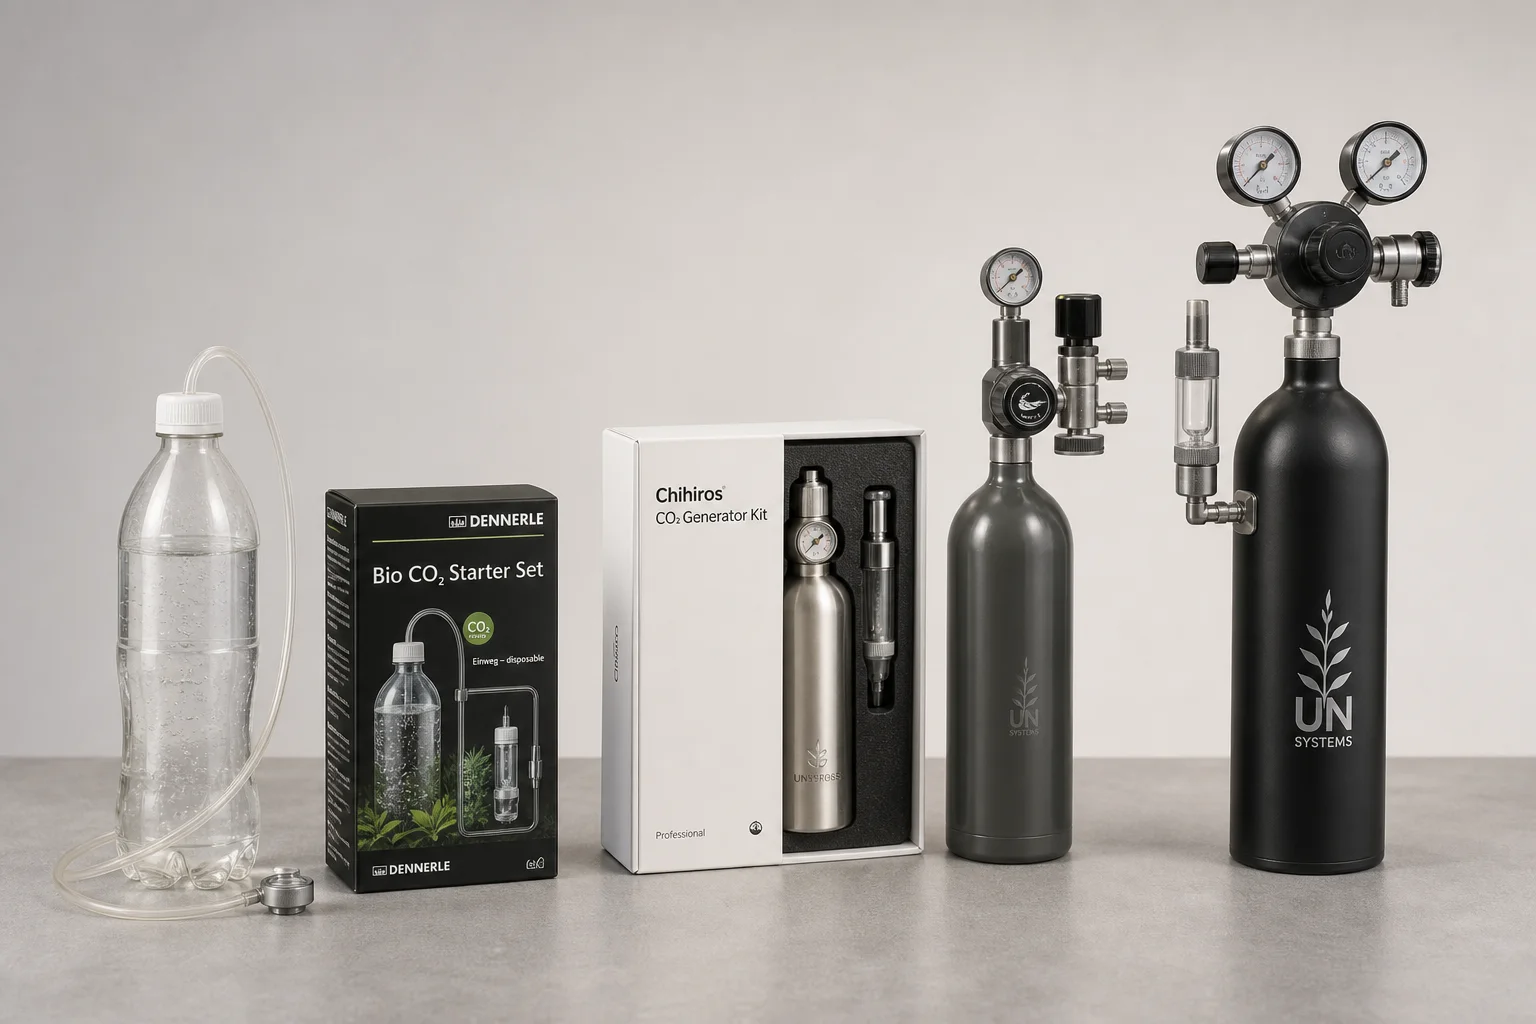
Best Aquarium CO2 Systems: Five Options From Budget DIY to Multi-Tank Setups
A practical guide to five aquarium CO2 systems, from homemade fermentation kits to pressurized cylinders with multi-tank regulators. Find the right setup for your tank size and budget.