Productivity Tools
Five Productivity Tips for the Logitech MX Master 3S
Master customizable buttons, gestures, smart actions, and app-specific profiles to unlock the full potential of your Logitech MX Master 3S mouse.
Introduction
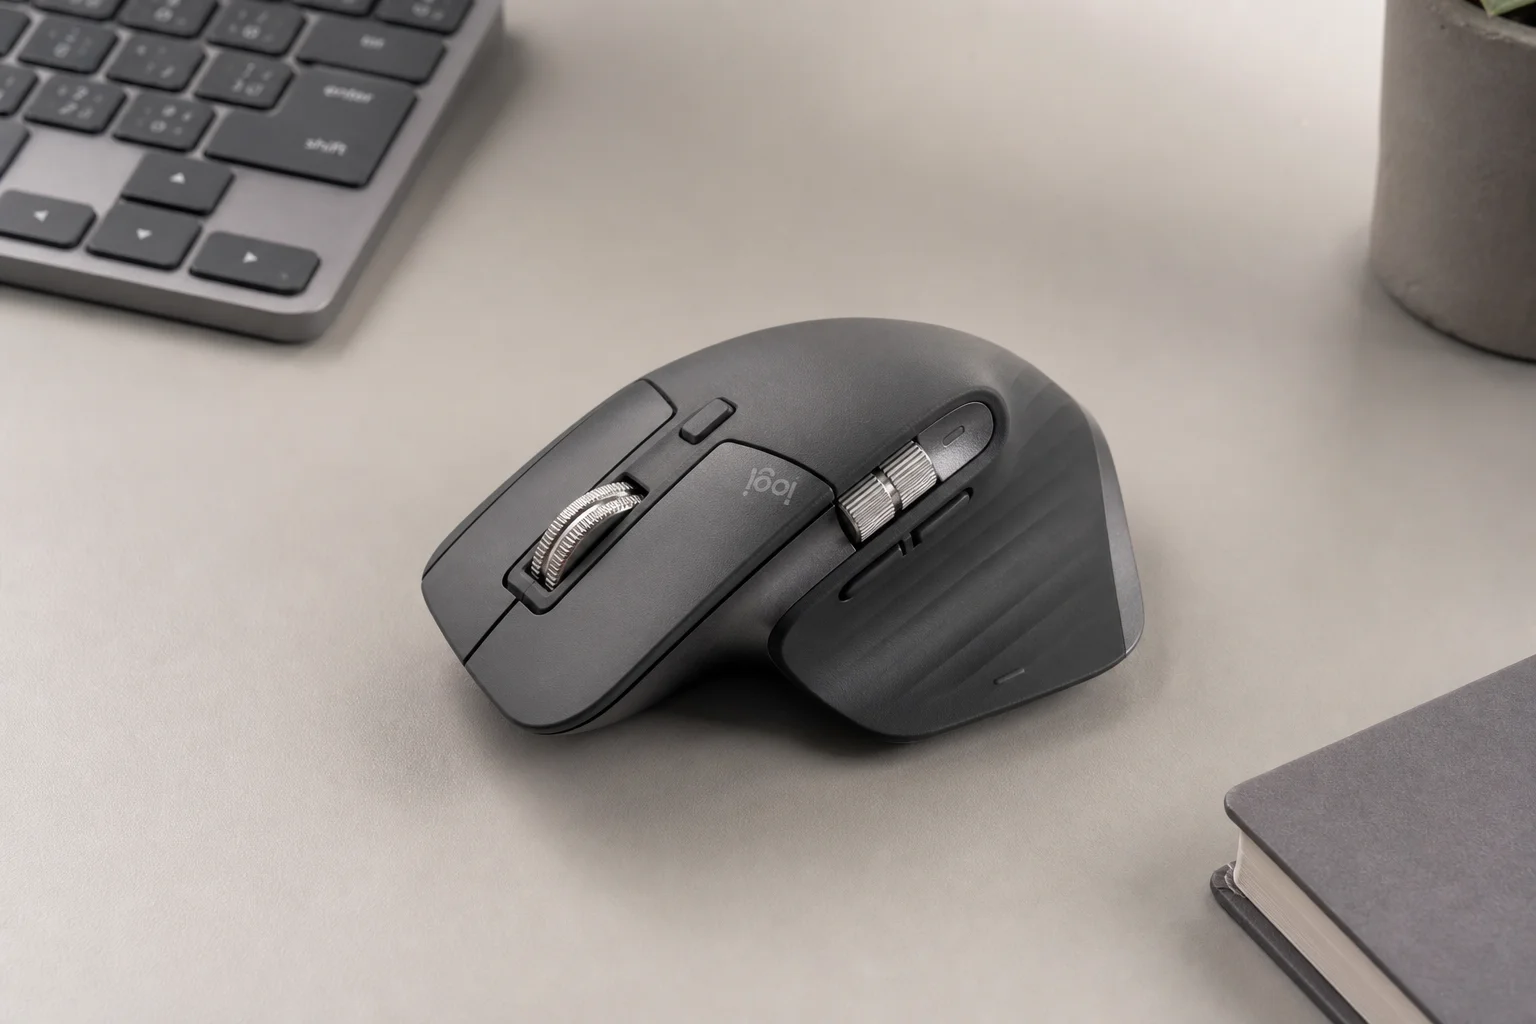
The Logitech MX Master 3S is built for productivity, but its true power emerges when you customize it to match your workflow. With the Logitech Options Plus software, you can unlock five key features that transform how you work across applications and devices. This guide walks you through each tip so you can maximize efficiency and reduce repetitive tasks.
Customize Your Buttons and Gestures
The MX Master 3S features multiple customizable buttons, starting with the thumb button positioned on the side. By default, it opens task view, but you can reassign it to almost any function through Logitech Options Plus. Options include taking screenshots, locking your computer, opening specific folders or files, or triggering keyboard shortcuts. Many users find it convenient to assign the thumb button to open ChatGPT for instant access.
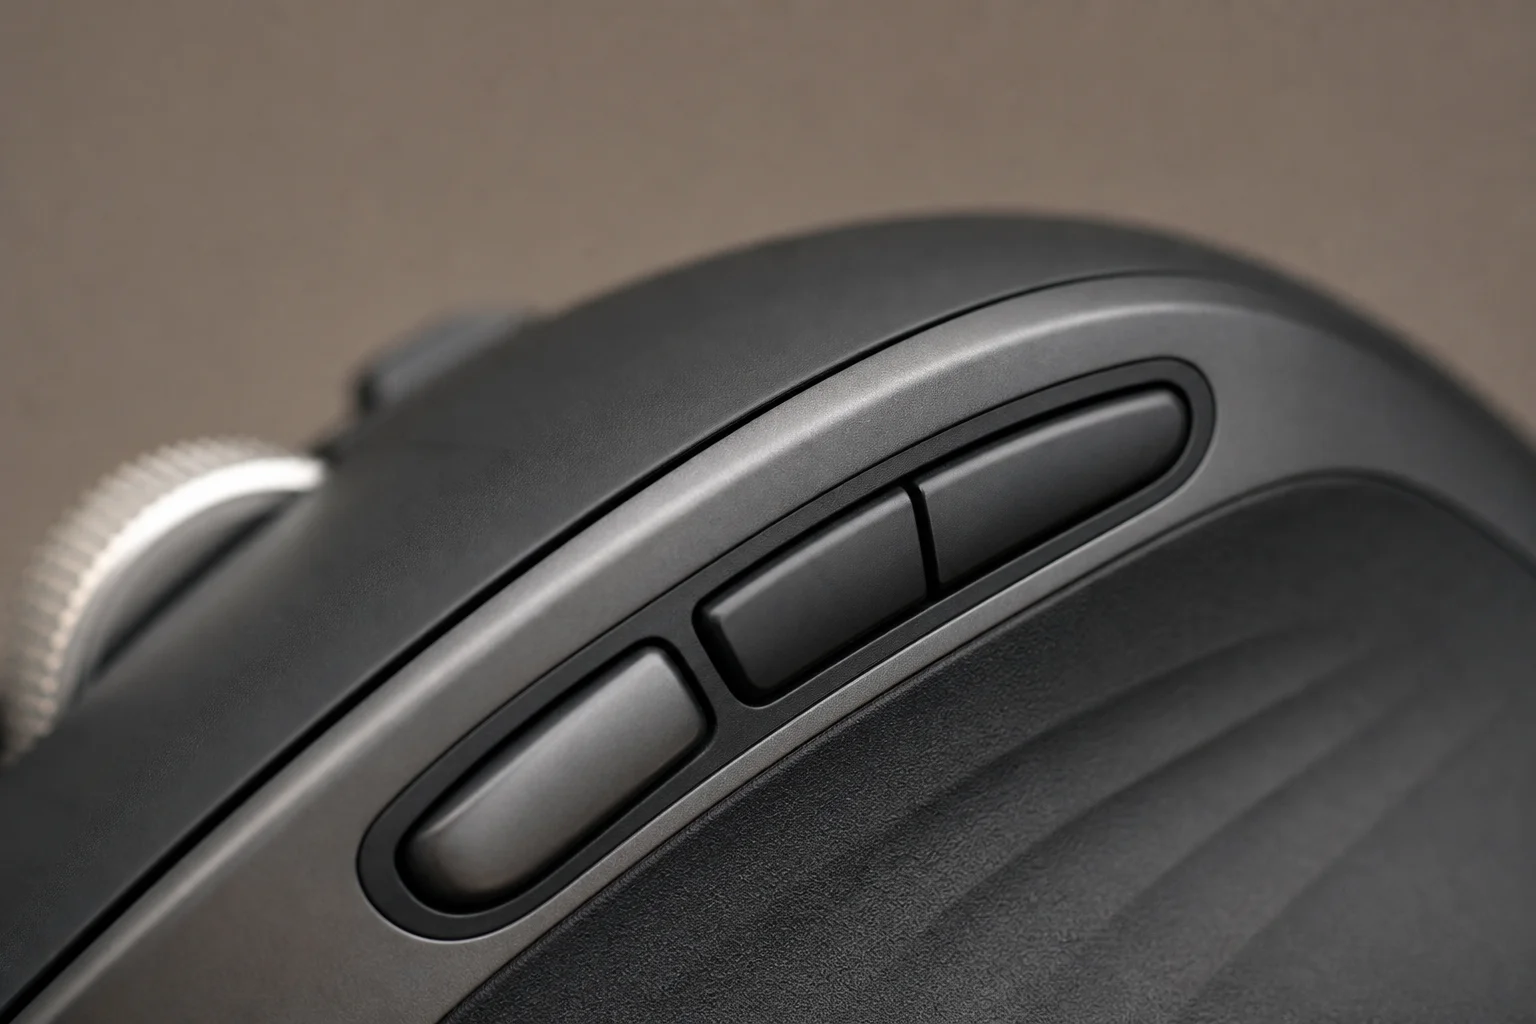
If a single action per button isn’t enough, gestures extend your options dramatically. You can assign up to five actions to the thumb button alone: one from a simple press, and four more by holding the button while moving the mouse left, up, right, or down. The software displays all available gesture actions when you navigate to the thumb button settings, select custom gestures, and review the action menu.
You can also set up gestures on the two buttons above the thumb button, giving you 15 possible actions across just three buttons. Once you internalize the gesture combinations, your productivity gains become noticeable.
Use Smart Actions to Automate Your Workflow
Smart actions take customization further by letting you chain multiple commands into a single button press. For example, one click can open Microsoft Word, Premiere Pro, and your working folder in sequence. This feature requires a Logitech account login but rewards the setup effort with powerful automation.
To create a smart action, select your preferred customizable button in Logitech Options Plus, choose smart actions from the list, and click create smart actions. You then define a trigger (the button you press) and add as many sequential actions as you need. The software executes them in order, making it ideal for launching your daily application suite or opening frequently used files.
Master the Max Speed Wheel
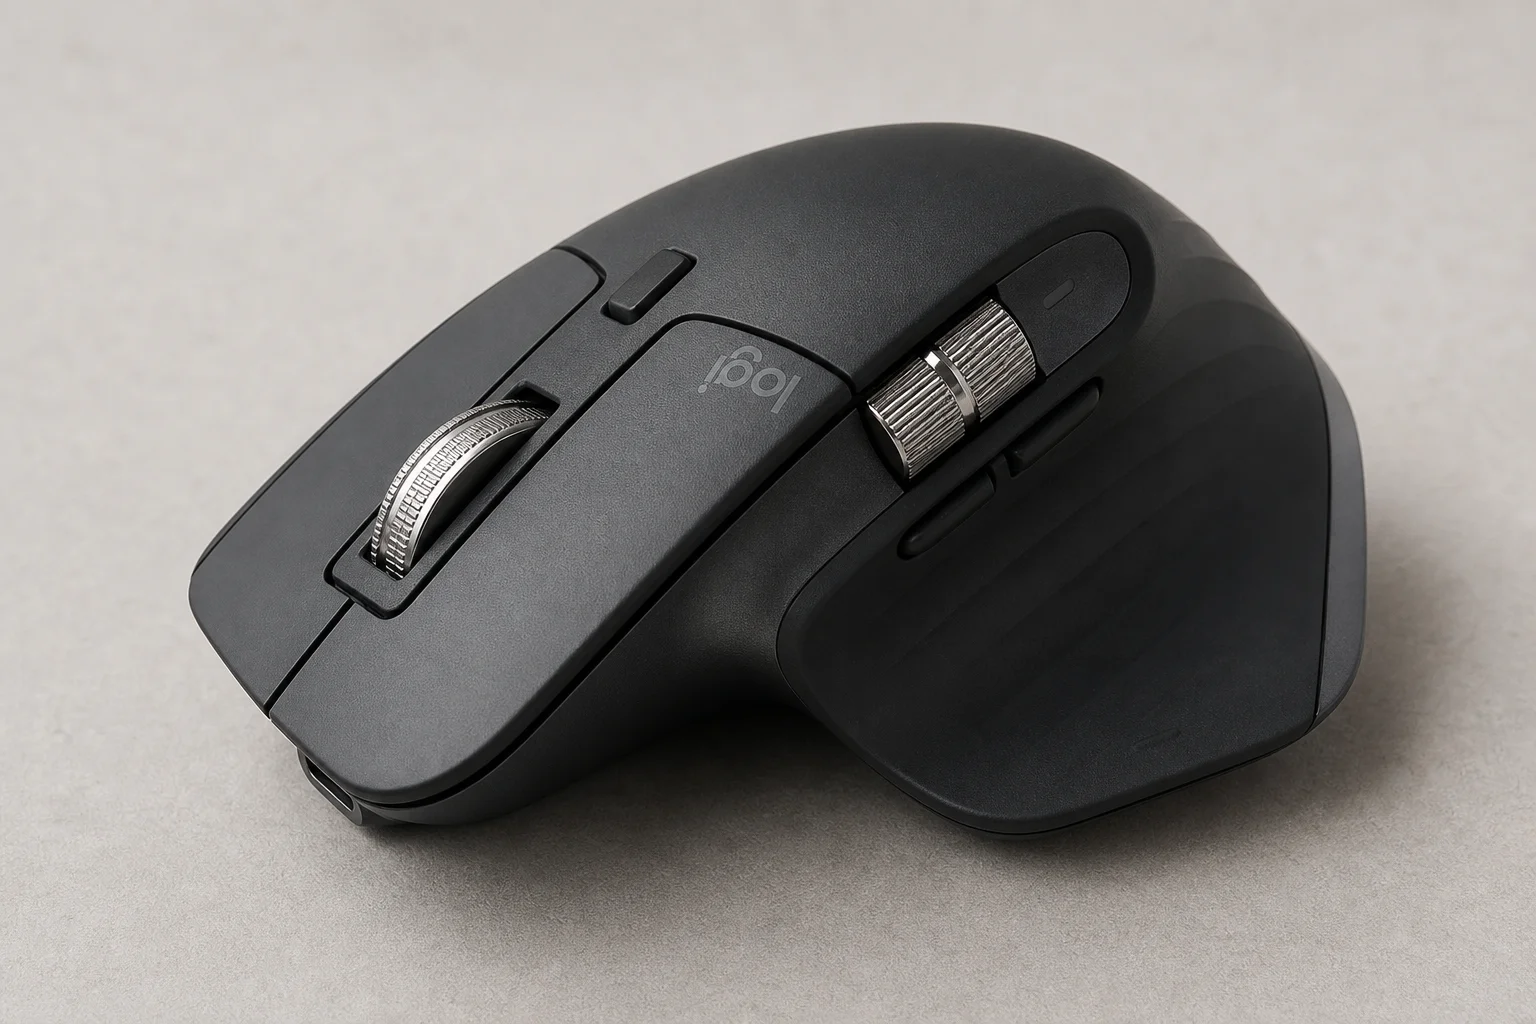
The MX Master 3S features a steel scroll wheel officially called the Max Speed Wheel, which operates in two modes. Free spin mode lets the wheel rotate smoothly for rapid scrolling through long documents, while ratchet mode provides tactile steps for precise, controlled scrolling. You can switch modes manually using the shift wheel mode button on the mouse’s top surface.
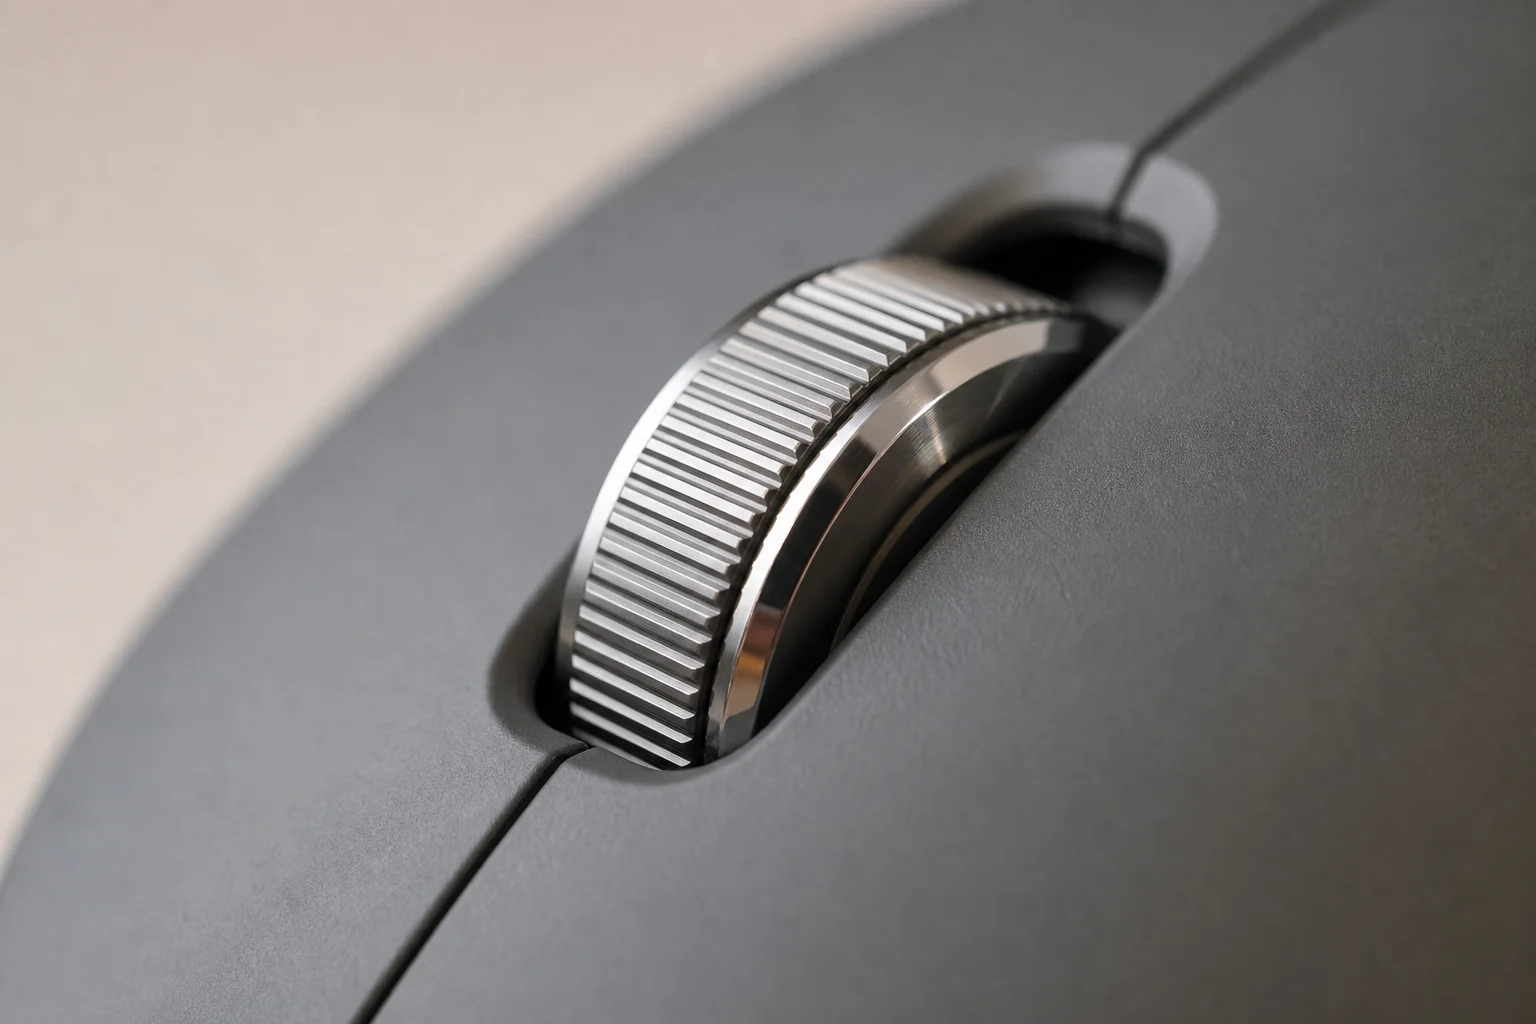
Smart shift automates this switching by detecting your scroll speed. When you scroll quickly, the wheel shifts to free spin; when you slow down to focus on content, it automatically returns to ratchet mode. Enable smart shift in Logitech Options Plus under Point and Scroll, then Scroll View, where you’ll find the toggle alongside other scroll options.
The scroll wheel is also clickable and fully customizable for gestures or smart actions. Since it has no default action, customizing it is highly recommended. Its position next to the left and right click buttons makes it one of the most accessible controls on the mouse, offering significant efficiency gains.
Create App-Specific Profiles
All the previous customizations can be applied globally, but Logitech Options Plus also lets you create application-specific profiles. Different software often demands different workflows: Microsoft Excel, Premiere Pro, and Google Chrome each benefit from tailored button assignments, gesture sets, and scroll settings.
App-specific profiles let you fully optimize your setup for each application. When you combine app-specific profiles with gestures, smart actions, and Max Speed Wheel settings, the customization possibilities become nearly limitless. This layered approach transforms the MX Master 3S from a capable mouse into a personalized productivity engine.
Pair Your Mouse with the MX Keys Keyboard
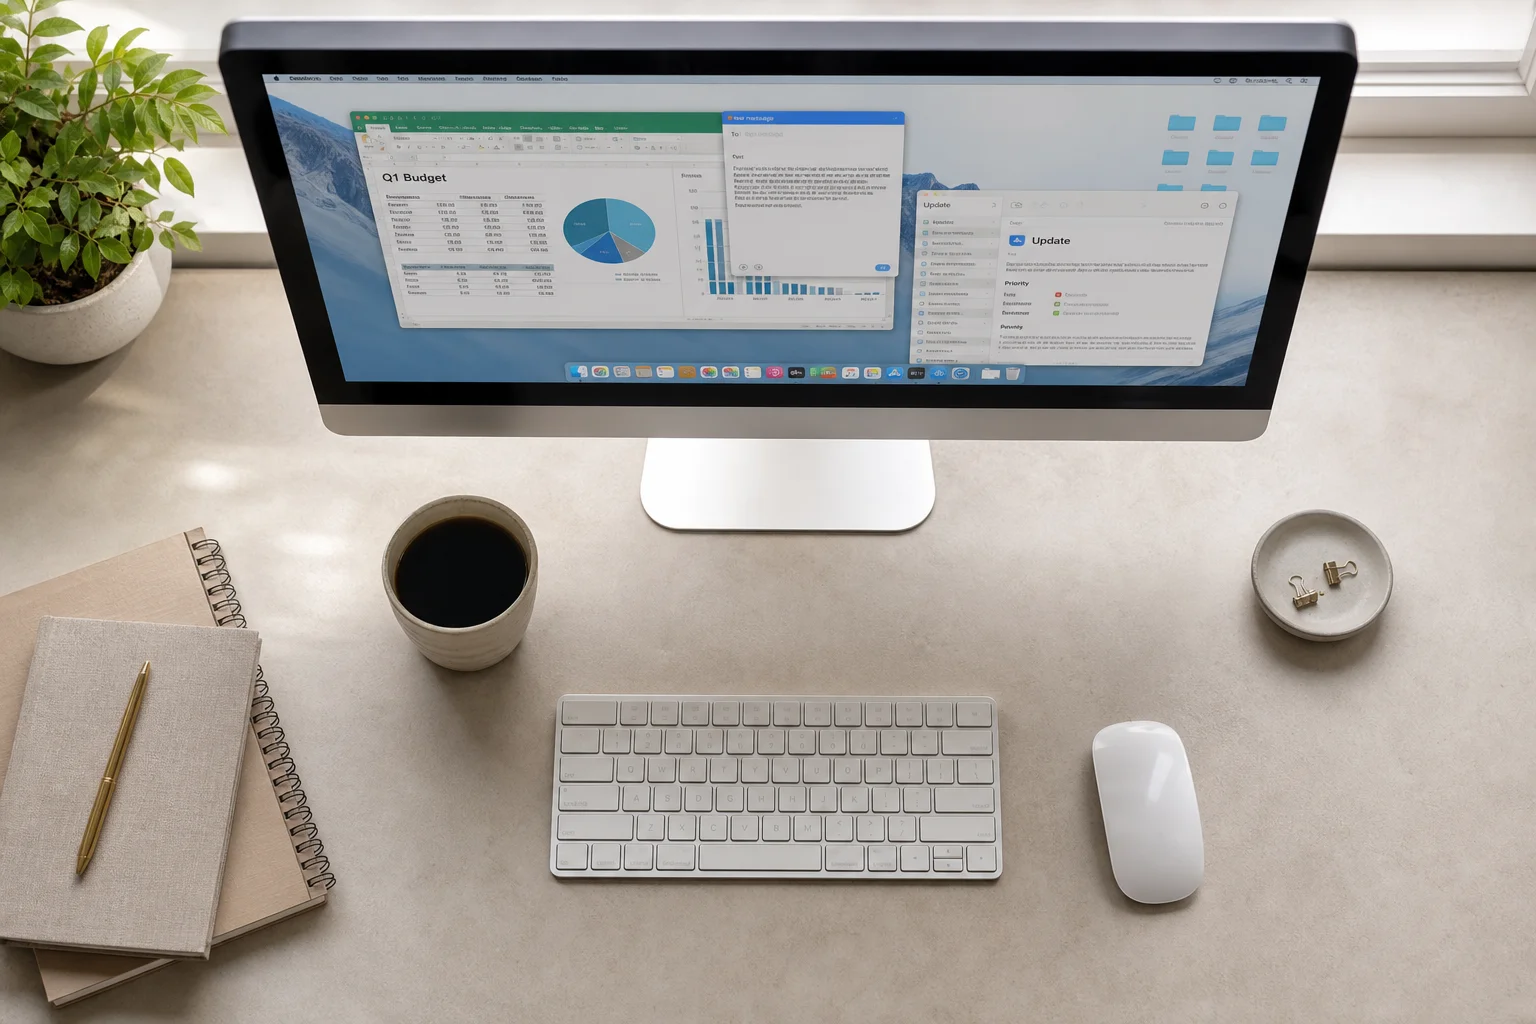
For maximum efficiency, pair the MX Master 3S with the Logitech MX Keys keyboard. Both devices support easy switch buttons, allowing you to toggle between three different profiles with a single click. This is invaluable if you work across multiple devices: one profile for your desktop, another for your main laptop, and a third for your work laptop.
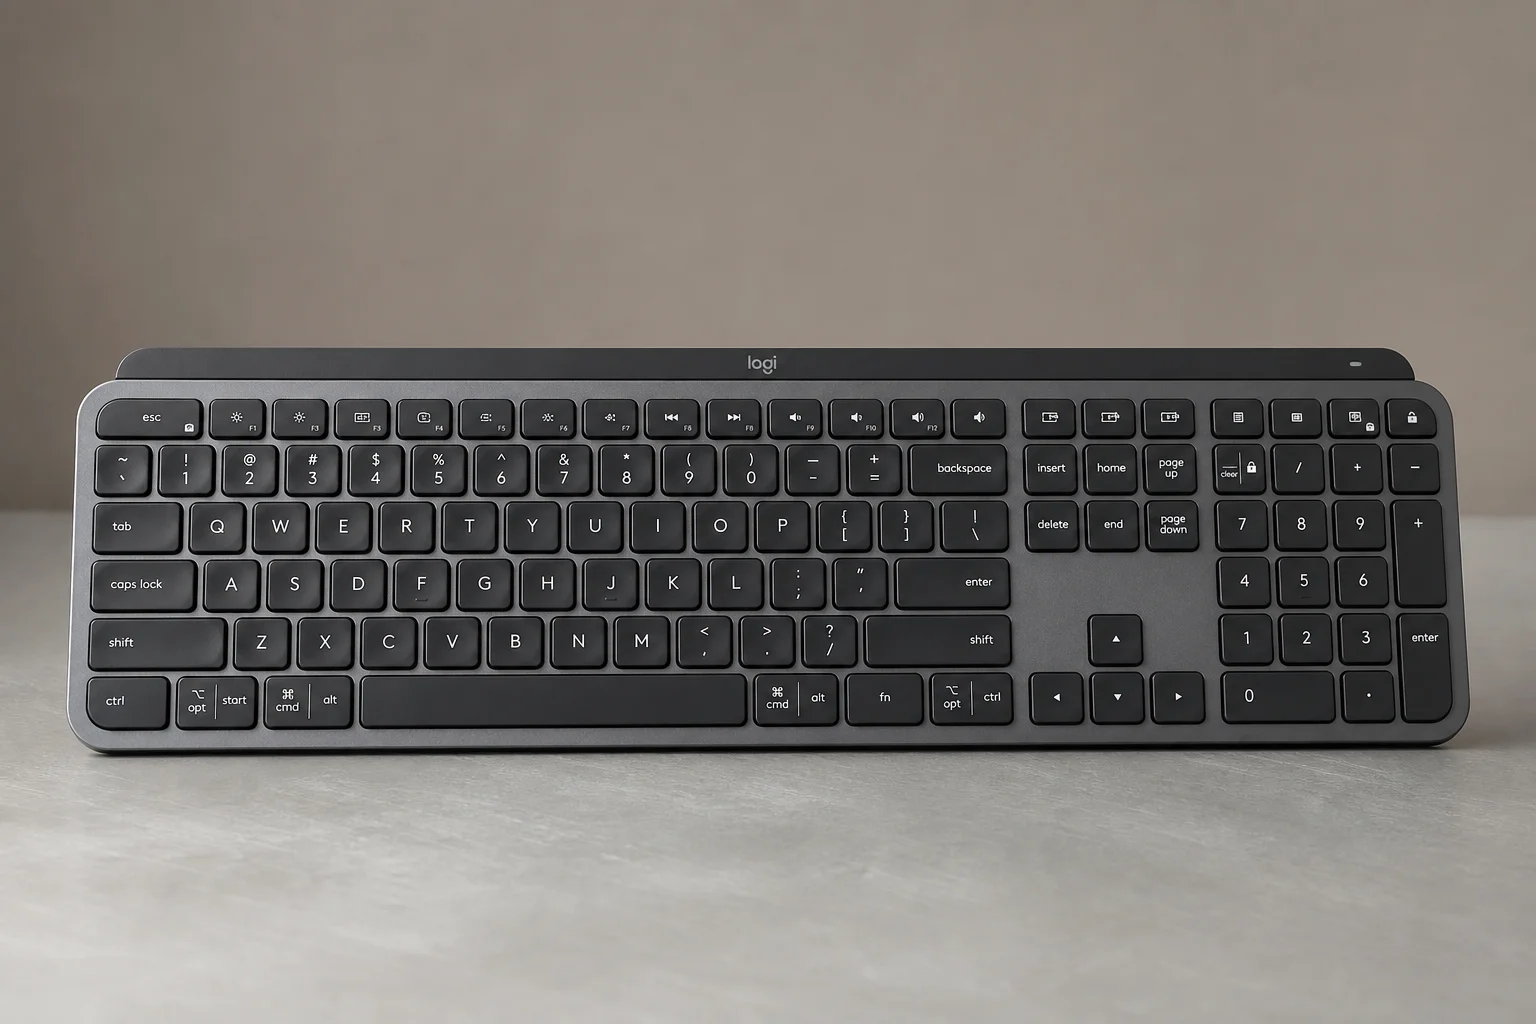
Both the mouse and keyboard support smart actions, so you can automate complex workflows across both input devices. A significant practical advantage: both devices can connect to a single Logitech Bolt receiver, meaning your entire keyboard and mouse setup uses only one USB port. Pair both devices to one receiver using Logitech Options Plus, and you’ve created a streamlined, efficient workspace.
Conclusion
The Logitech MX Master 3S delivers its greatest value when you invest time in customization. Gestures, smart actions, app-specific profiles, and the Max Speed Wheel’s intelligent switching work together to eliminate friction from your daily workflow. Combined with the MX Keys keyboard and easy switch functionality, this setup becomes a genuine productivity multiplier for anyone working across multiple applications or devices.
Further reading
Related Reviews
Workspace Setup
Best Desk Setup Upgrades: A Practical Guide to Ergonomic Workspace Design
Essential desk upgrades for comfort and productivity, from standing desks and ergonomic chairs to monitors, lighting, and accessories that make long work sessions sustainable.
Mac Accessories
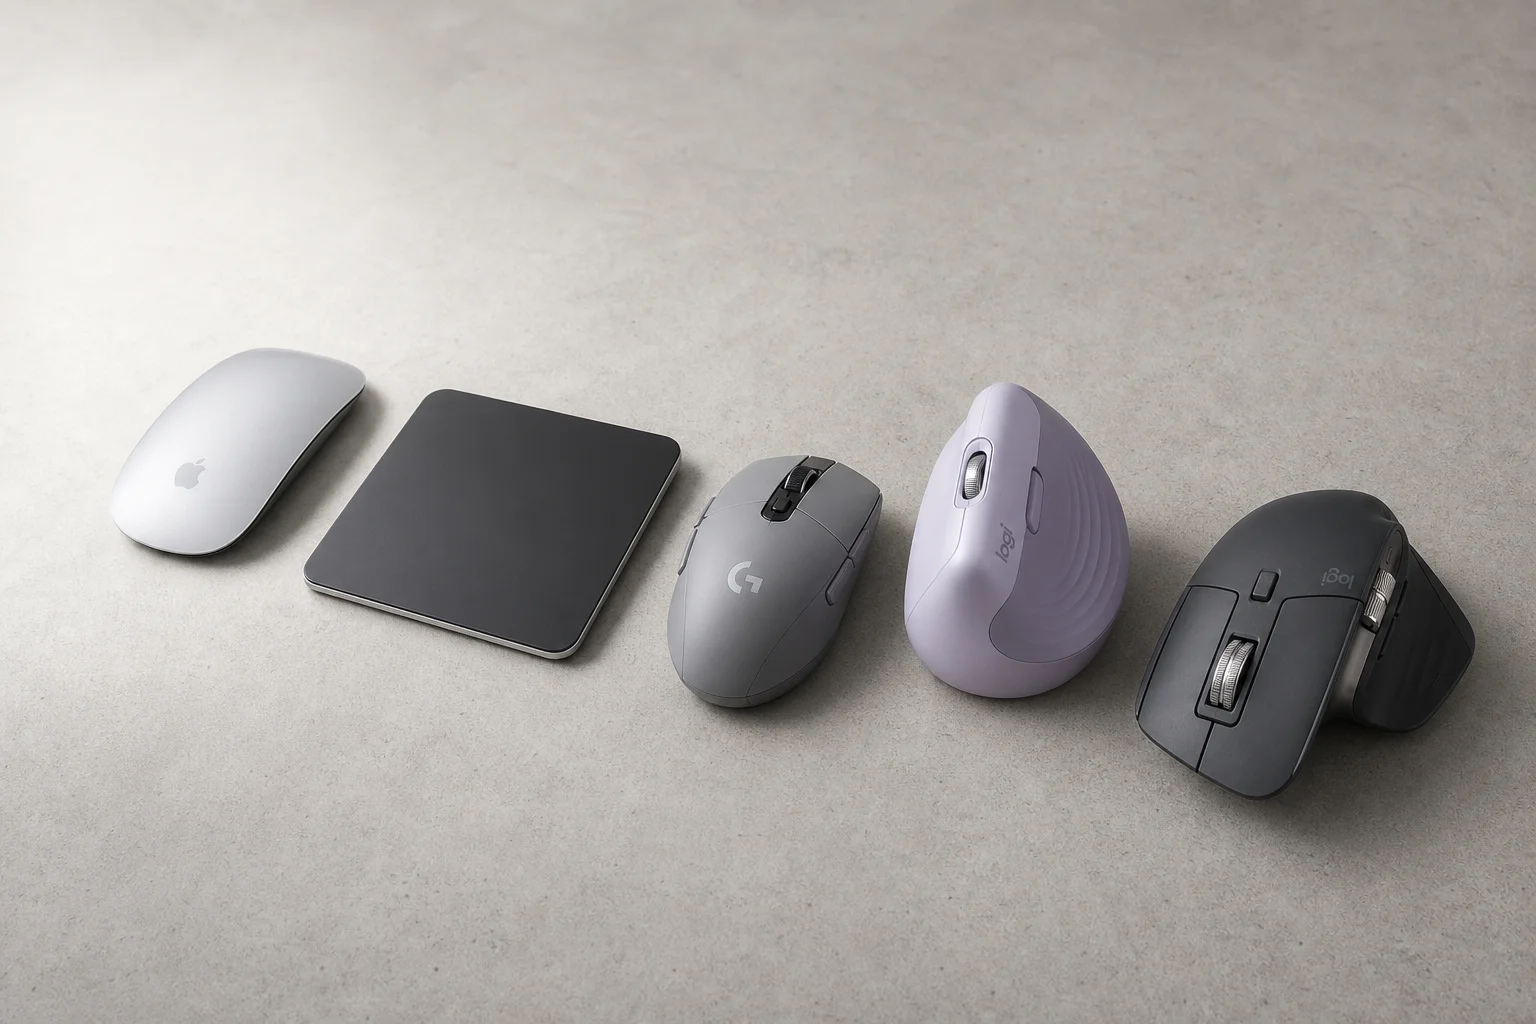
Best Mice for Mac Users: Five Practical Alternatives to the Magic Mouse
The Magic Mouse remains divisive. Here are five alternatives, from budget gaming mice to premium productivity options, each with clear strengths and trade-offs.
Workspace Setup
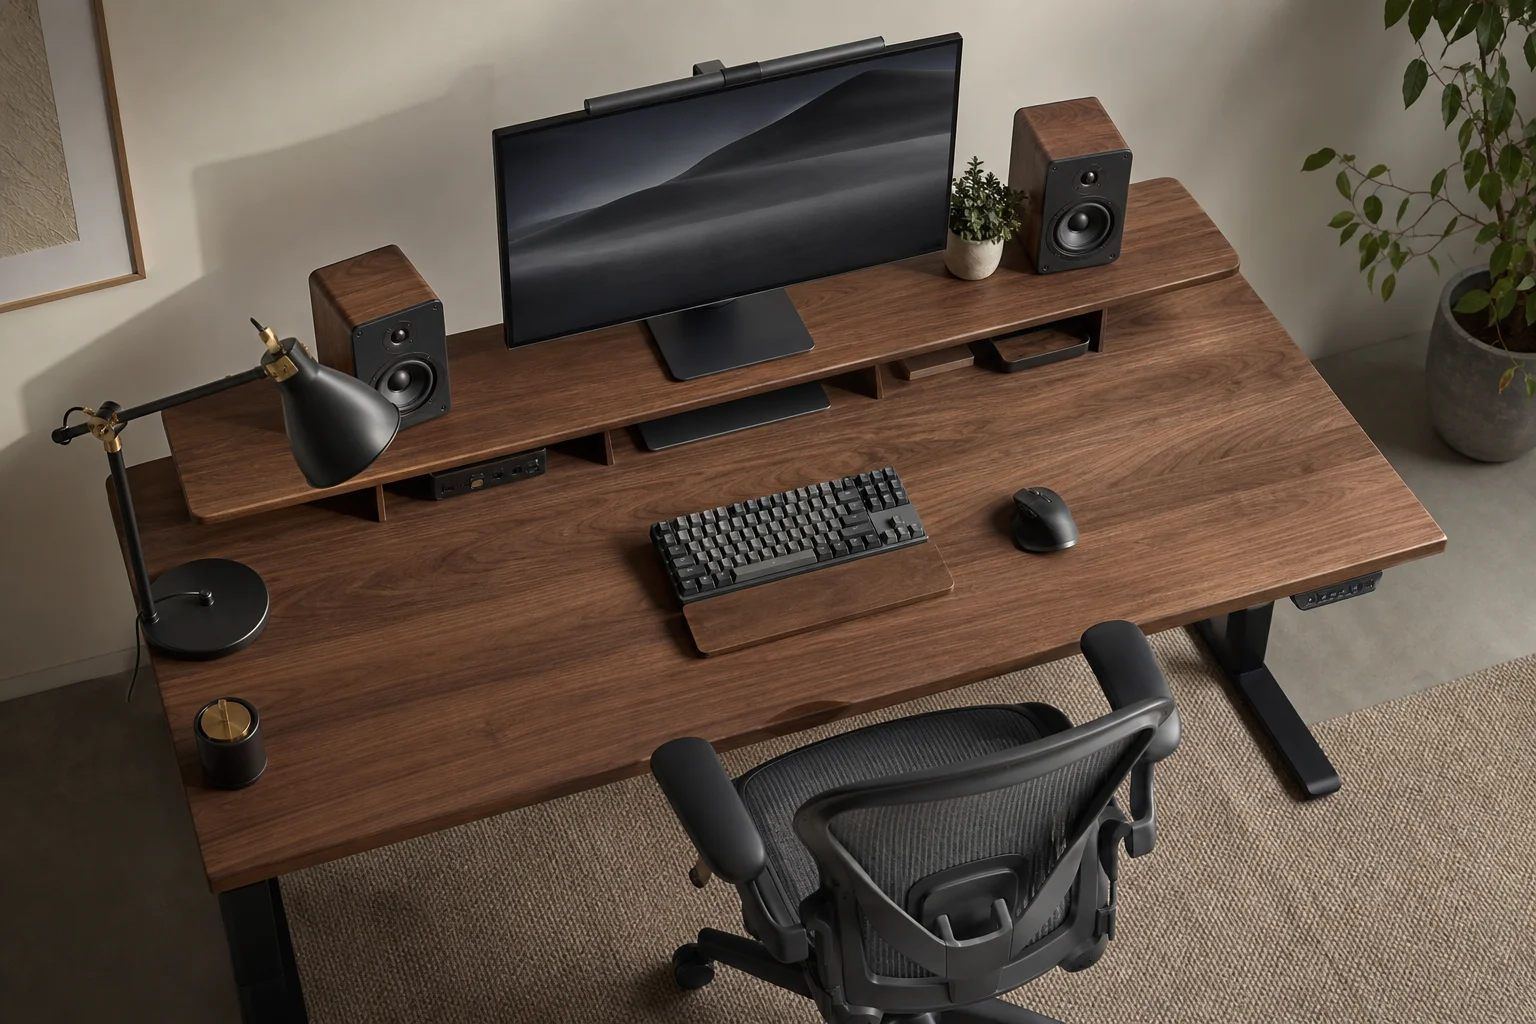
Desk Setup Upgrades: A Practical Guide to Creating a Comfortable Workspace
Essential desk setup improvements for long working hours, from ergonomic chairs and monitor positioning to speakers and webcams that make a real difference.