Tech Guides
Raspberry Pi Touch Display 2: Setup, Alternatives, and Real-World Use Cases
The Raspberry Pi Touch Display 2 upgrades to 720p and works seamlessly with Pi 5. We explore setup, limitations, alternative touchscreen options, and practical applications from home automation to car integration.
Introduction
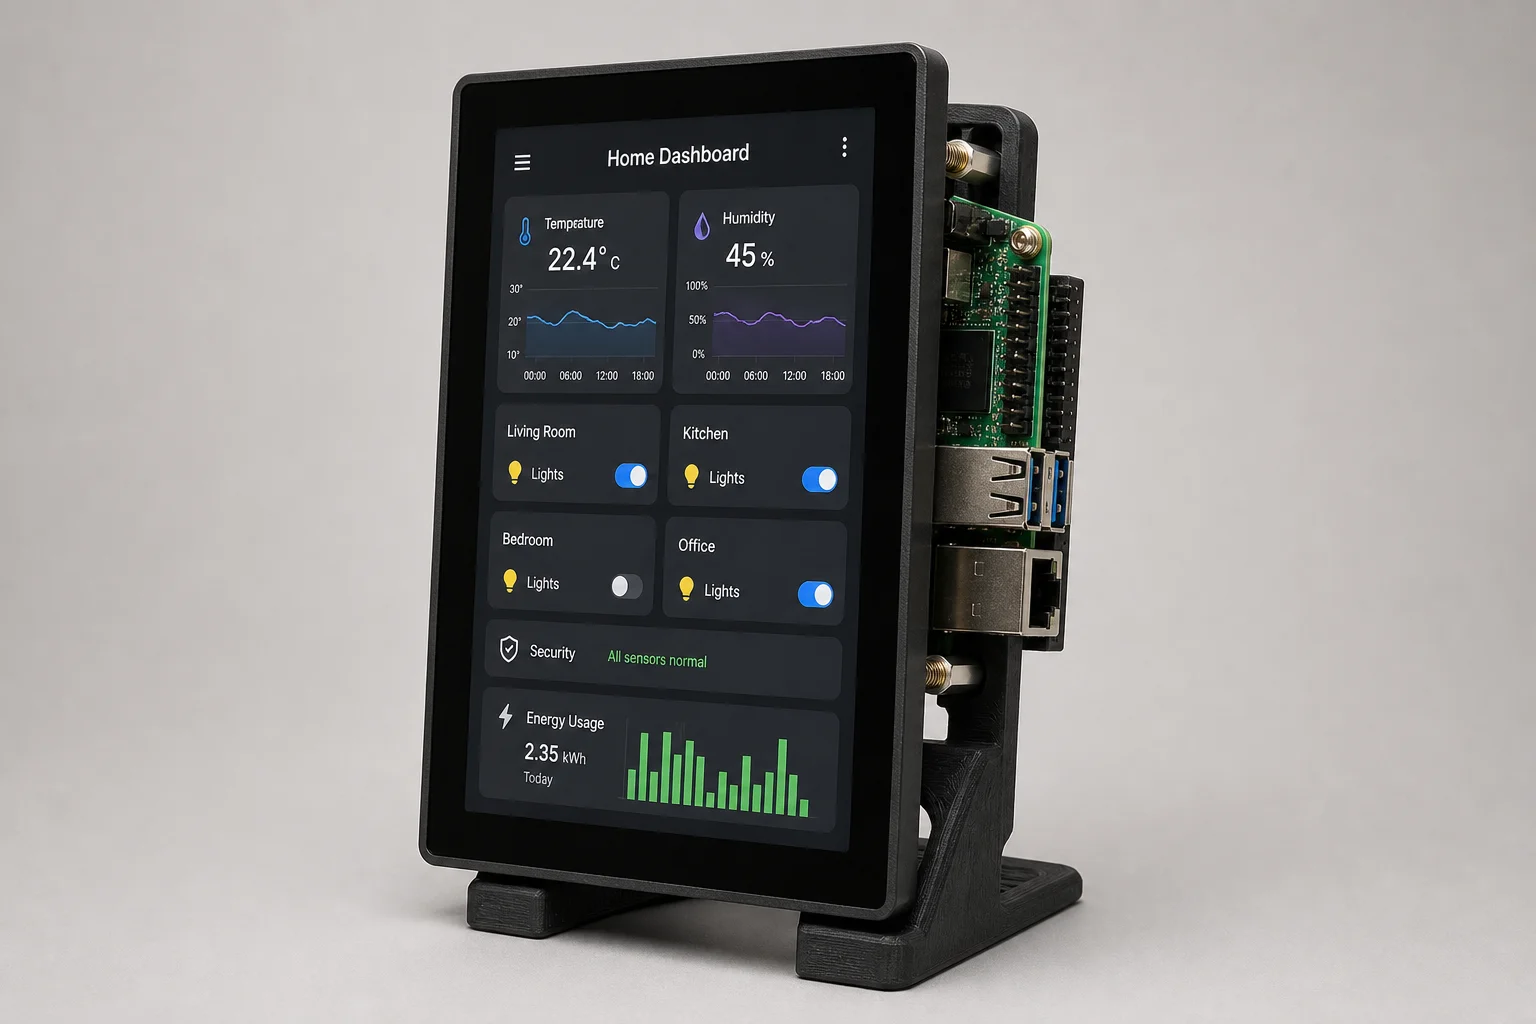
The Raspberry Pi Touch Display 2 represents the first major update to Raspberry Pi’s official touchscreen in years. With improved resolution, native Pi 5 support, and a price point that keeps a complete setup under $130, it opens new possibilities for home automation dashboards, kiosk displays, and custom interfaces. However, the upgrade path from the original display comes with mounting challenges, and real-world applications like car integration reveal important thermal and power limitations worth understanding before you build.
Display Specifications and Compatibility
The original Raspberry Pi Touch Display topped out at 480p resolution. The Touch Display 2 bumps that to 720p, a meaningful upgrade for readability and interface density. Both use TFT panel technology, which means color depth and viewing angles won’t match premium displays, but they work well enough for indoor use.
The price remains $60 in the US, making the total cost for a Pi 5 plus display plus mounting hardware around $130. The touchscreen itself dropped from 10-point multi-touch to 5-point, but in practice, especially given Linux’s touchscreen support limitations, this is not a significant constraint for most applications.
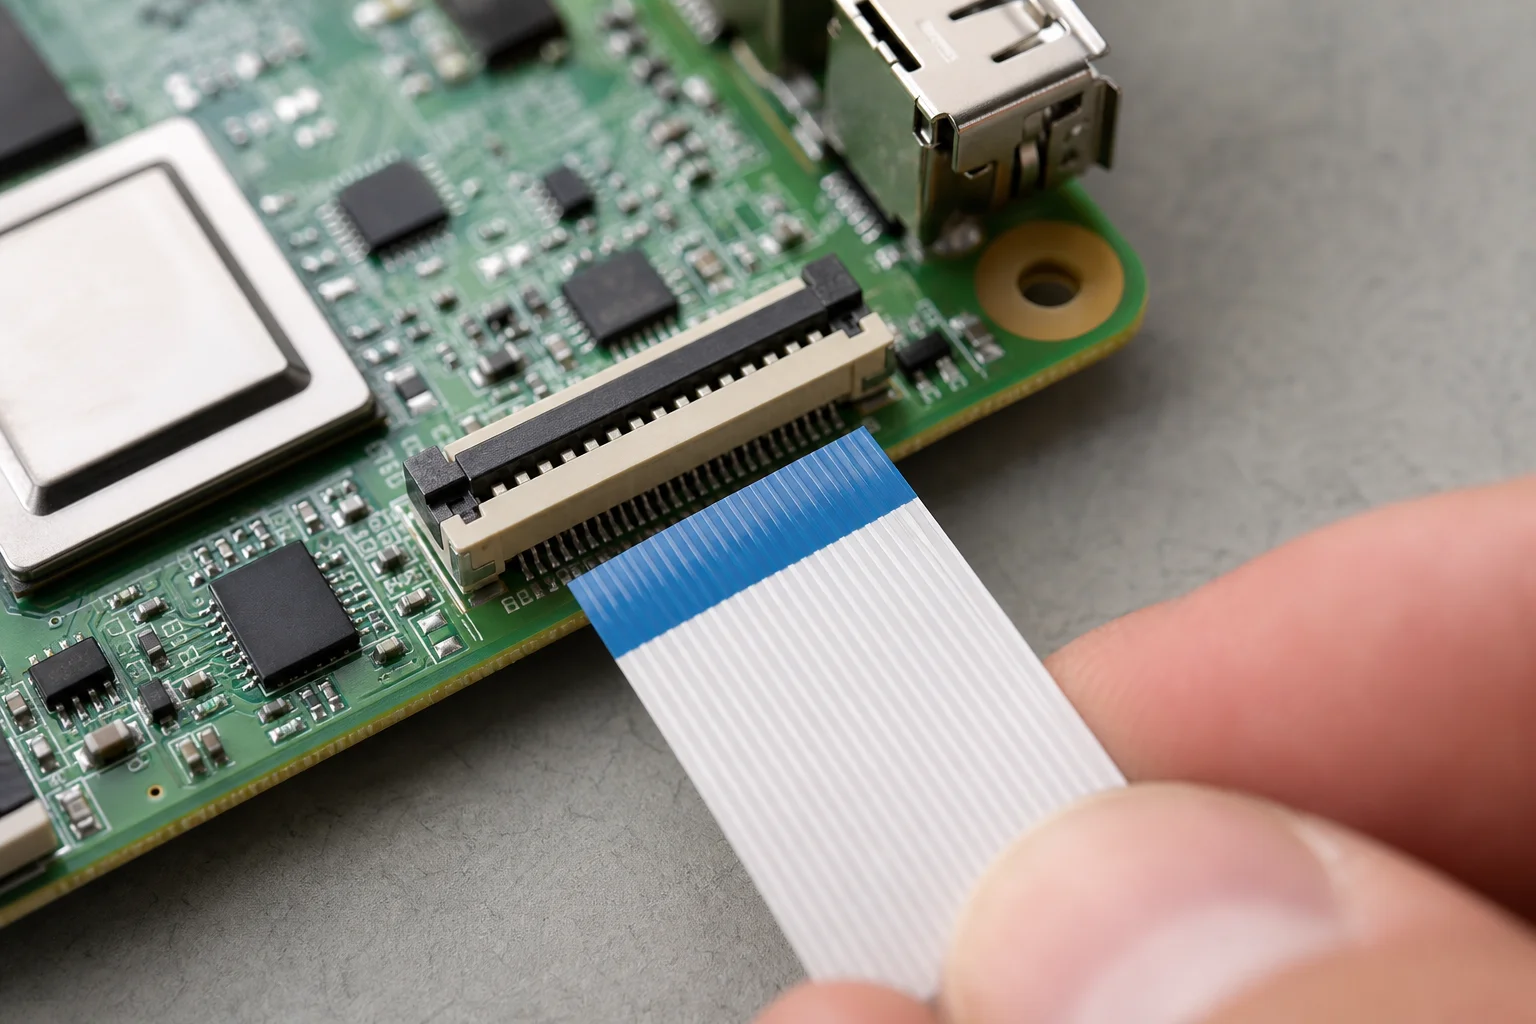
The display ships with two FFC cables: one optimized for Pi 5 and another that works with every Pi generation back to the B+, excluding the zeros. Connection is straightforward: the power connector plugs into GPIO, and the display cable connects to the Pi’s DSI port. The four standoffs allow direct mounting of the Pi to the back of the display.
A critical consideration for anyone upgrading from the original display: the mounting holes have moved. Any existing cases, stands, or enclosures designed for the original will not fit the new one. Custom 3D-printed mounts are available on community sites like Printables, and many designs use the four mounting screws that come with the display.
Setting Up the Kiosk Mode
Getting the display to boot directly into a full-screen application requires several steps. The most practical approach uses a kiosk mode setup, particularly useful for home automation dashboards.
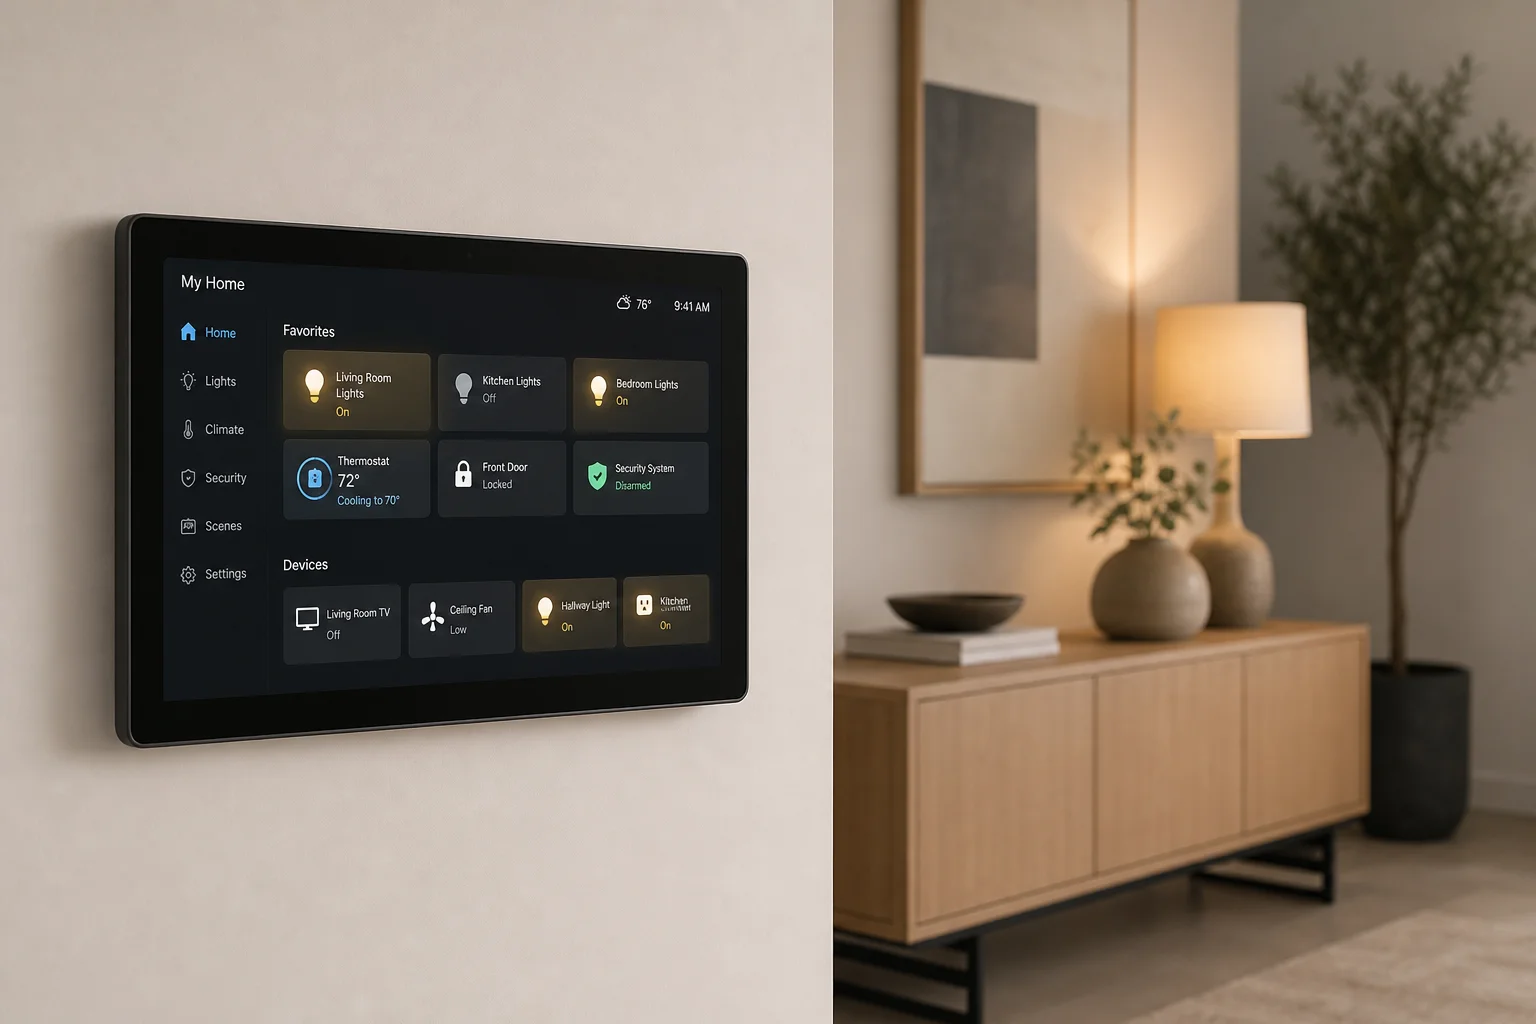
First, install unclutter to hide the mouse cursor, making the interface feel more like a dedicated touchscreen device. Next, create a shell script (kiosk.sh) that waits for the system to fully boot, hides the cursor, and launches your target application in Chromium’s kiosk mode. For home automation, this typically means launching a Home Assistant dashboard.
To make the kiosk launch automatically on boot, create a systemd service file that tells the operating system how to run the kiosk script. Enable this service, and the Pi will launch directly into your dashboard on startup.
The on-screen keyboard in PiOS is now included by default, though you may need to enable it in the Raspberry Pi configuration tool. Once active, you can tap the keyboard icon in the top right or have it appear automatically in text-entry contexts like terminal windows.
A practical consideration: if your kiosk application takes over the entire display, you need a way to exit it without a physical keyboard. Enable SSH and Wi-Fi so you can log in remotely, or use the Pi Connect service to stop the kiosk service from another device. The Pi’s power button can also force shutdown, though this depends on your physical mounting.
Alternative Touchscreen Options
If the Raspberry Pi Touch Display 2 doesn’t meet your needs, several pre-built alternatives exist, each with different trade-offs.
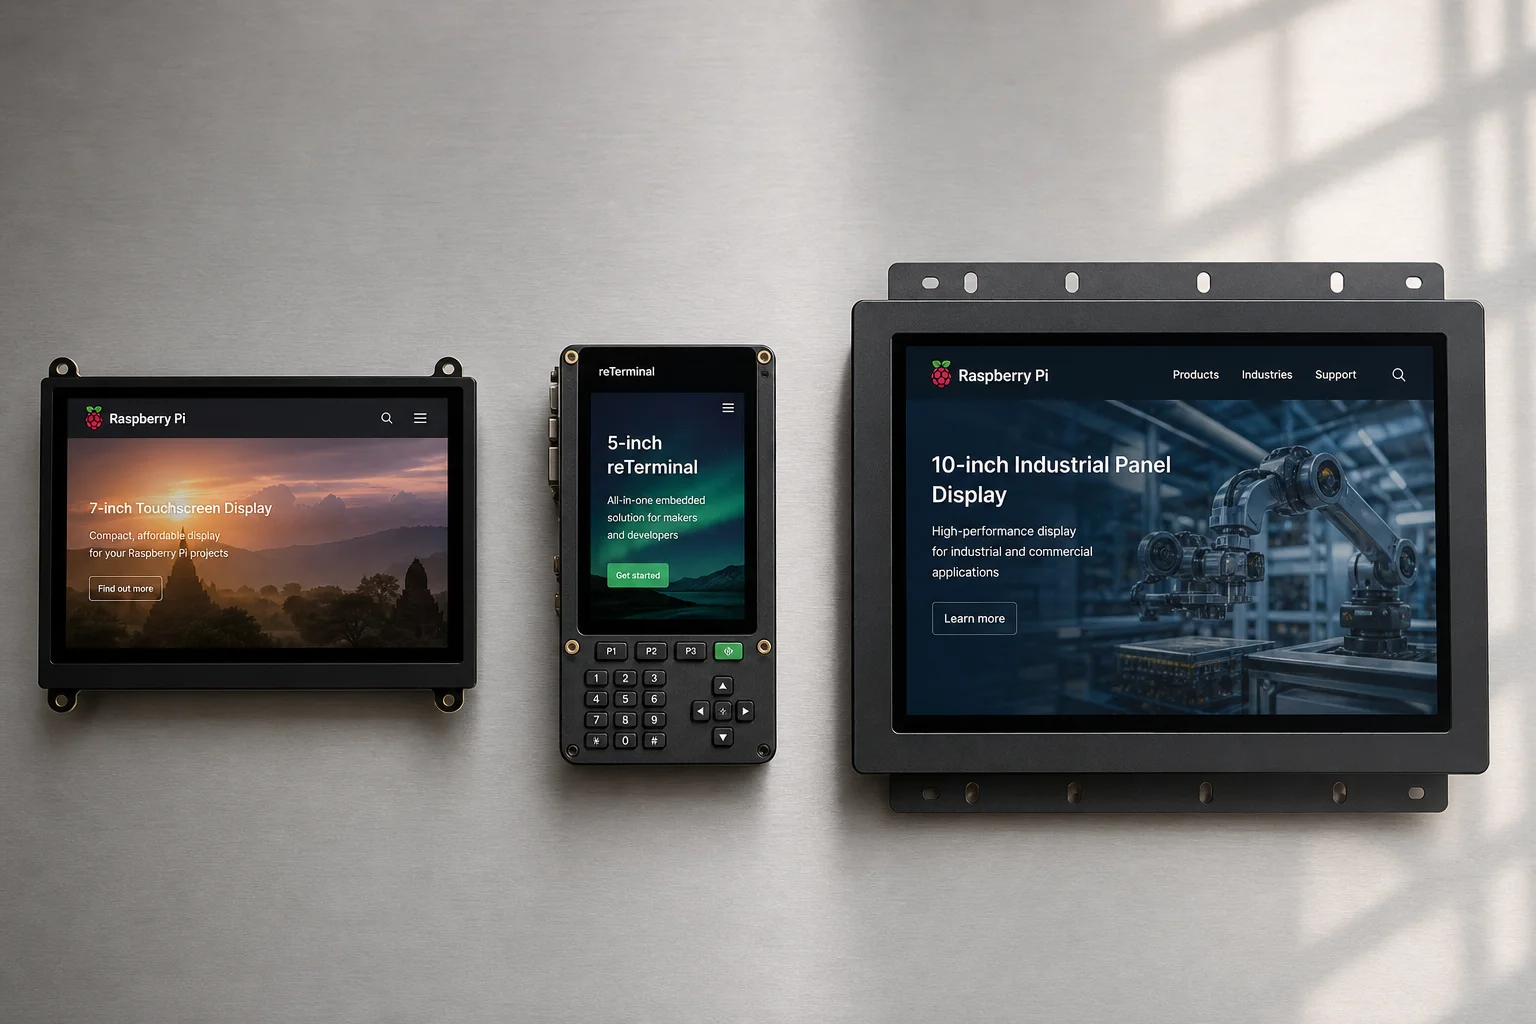
Seeed Studio offers the reTerminal and reTerminal DM, available in 5 and 10-inch sizes. These are designed as Human-Machine Interface (HMI) devices with rugged metal enclosures, flush or VESA mounting options, and some models include NVMe slots or integrated Power over Ethernet. Pricing ranges from $200 to $400.
Chipsee manufactures a 10-inch industrial panel PC with a Compute Module 4 built in, priced around $300. Elecrow produces 7 and 10-inch HMI devices with Raspberry Pi 5 modules, including a compact box with a Pi 5 and CM4 touch interface designed for 3D printer control. Some of these devices even break out the internal components into standalone mini-PC configurations.
Waveshare offers budget touchscreens available through Amazon and AliExpress, though many users report these are difficult to get working reliably. The advantage of Raspberry Pi’s official display is that support is baked directly into PiOS, with touchscreen support improving with each release. Third-party displays often require manual driver installation and configuration.
The trade-off is clear: DIY setups with the official display offer customization and lower cost but lack the rugged enclosures and integrated features of purpose-built HMI devices. Pre-built solutions provide durability and professional mounting but less flexibility for custom projects.
Linux Touchscreen Limitations
Linux has historically struggled with touchscreen support, and PiOS only recently began supporting touchscreens out of the box. This means several common interactions remain frustrating. The on-screen keyboard sometimes covers the text you are typing. Scrolling and right-click detection work inconsistently. Simple applications like Home Assistant dashboards function well, but more complex interactions often feel clunky.
These limitations are not unique to Raspberry Pi; they reflect broader Linux desktop challenges. For straightforward UI dashboards, the experience is acceptable. For anything requiring frequent text input or complex gestures, expect friction.
Car Integration and Limitations
One compelling use case is integrating the display into a car as a CarPlay or Android Auto interface. Using a CarLink dongle with open-source software like react-carplay, a Raspberry Pi can theoretically drive a custom touchscreen in a vehicle.
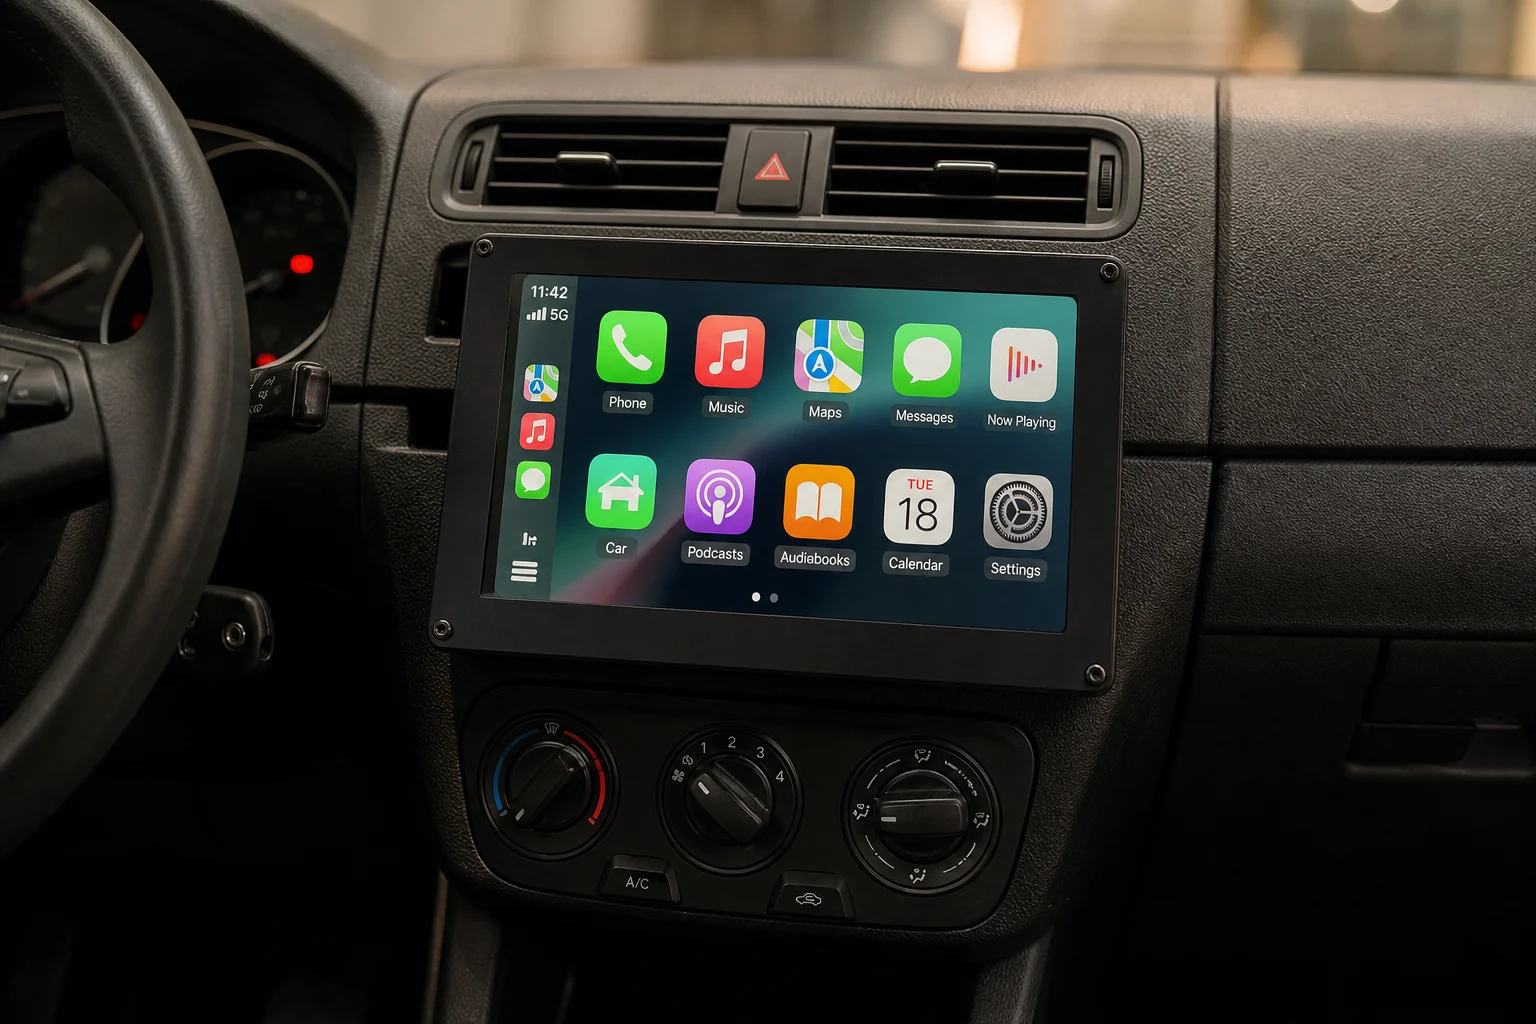
However, real-world car integration reveals significant constraints. The Touch Display 2 is rated for 0 to 50 degrees Celsius. Inside a car on a hot summer day, temperatures easily exceed 50 degrees Celsius (120 degrees Fahrenheit). In winter, many regions see temperatures below -20 degrees Celsius, well outside the display’s operating range.
Power consumption is another consideration. The display draws 2 to 3 watts, and combined with a Pi 5 at idle, total power draw reaches 5 to 6 watts. For a car running on battery power when parked, this is not ideal.
Additional hurdles include sourcing a 12-volt to 5-volt power adapter for the car’s electrical system, mounting the display and Pi securely, routing audio output to the car stereo, and ensuring the entire system integrates cleanly with the vehicle’s interior. While technically feasible, the Touch Display 2 is not purpose-built for automotive environments.
Conclusion
The Raspberry Pi Touch Display 2 is a practical upgrade for home automation dashboards, kiosk displays, and custom interfaces where temperature and power constraints are not limiting factors. The 720p resolution, native Pi 5 support, and out-of-the-box PiOS integration make it the easiest official option for DIY touchscreen projects. However, mounting incompatibility with the original display, Linux touchscreen limitations, and thermal constraints for automotive use are real trade-offs to weigh. For rugged, professional applications, pre-built HMI devices from Seeed Studio or Elecrow offer better durability and integrated features, albeit at higher cost. For hobbyists and home automation enthusiasts, the official display remains the best value.
Product link
View more details for Raspberry Pi Touch Display 2
This product is mentioned in the review. Check the specifications, options, and compatibility before buying.
View more details for Raspberry Pi Touch Display 2Further reading
Related Reviews
Smart Home
15 Amazon Smart Home Automations: Practical Ideas for Every Room
Fifteen practical Amazon Alexa routines and automations that solve real household problems, from pet care to security and entertainment.
Smart Home
Apple TV as HomeKit Hub: Why It's Your Best Choice for Home Automation
The Apple TV combines HomeKit hub functionality with a display, camera viewing, and local automation control. Here's what makes it stand out from iPad and HomePod Mini alternatives.
Tech Hardware
CaribouLite Raspberry Pi SDR Setup: Building a Portable Software Defined Radio
A practical guide to installing and using CaribouLite, an FPGA-based software defined radio hat for Raspberry Pi, including network streaming and antenna considerations.